

How to Test Dog Bed Construction From Product Photos?
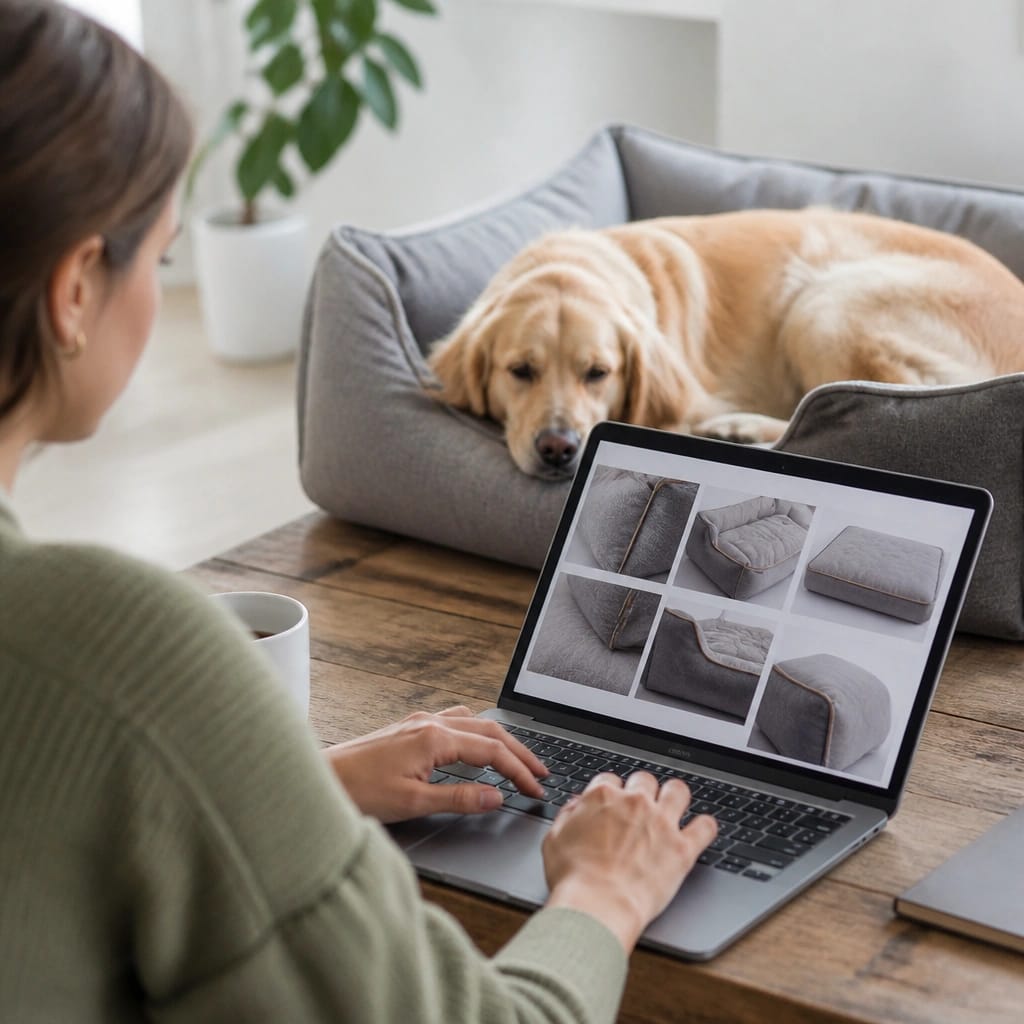
If you’re buying a dog bed online, you’ve probably asked yourself how to test dog bed construction from product photos before clicking checkout. You want to know if the seams will survive a determined digger and if the foam will stay thick for more than a month. You can’t touch the fabric or squeeze the padding.
But the photos can still tell you a lot, once you learn to read them.
Take OEKO-TEX Standard 100, for example. It’s a textile safety certification that restricts harmful substances in fabric, and manufacturers often show the logo in close-up shots. As of 2026, more reputable brands are putting certifications directly on product pages and tags.
That visual clue can tell you more about material quality than a page of marketing copy.
You can test dog bed construction from product photos without touching the bed. Look at seam quality, zipper placement, fabric grain, and foam side profiles. Compare marketing images with customer photos to spot misleading angles. Focus on structural details, not styling. Those clues determine how long the bed stays supportive.
What Product Photos Really Tell You About a Dog Bed
Product photos are a decision record. Every angle is chosen for a reason, and every shadow is there to help or hide. A good set of photos shows the bed from the side, the base, the zipper, and the seams.
A weak set leans on one flattering angle with a sleeping dog.
In our research, beds with solid construction almost always include more than two angles. That’s not an accident. The brand is showing you how the bed is built.
What the photos don’t show matters just as much. No zipper view? No underside?
That’s a warning sign. If you’re also trying to judge whether the sleeping surface matches your dog’s frame, our dog bed size chart by weight helps once you know the dimensions.
The Anatomy of a Well-Built Dog Bed: What You’re Looking For
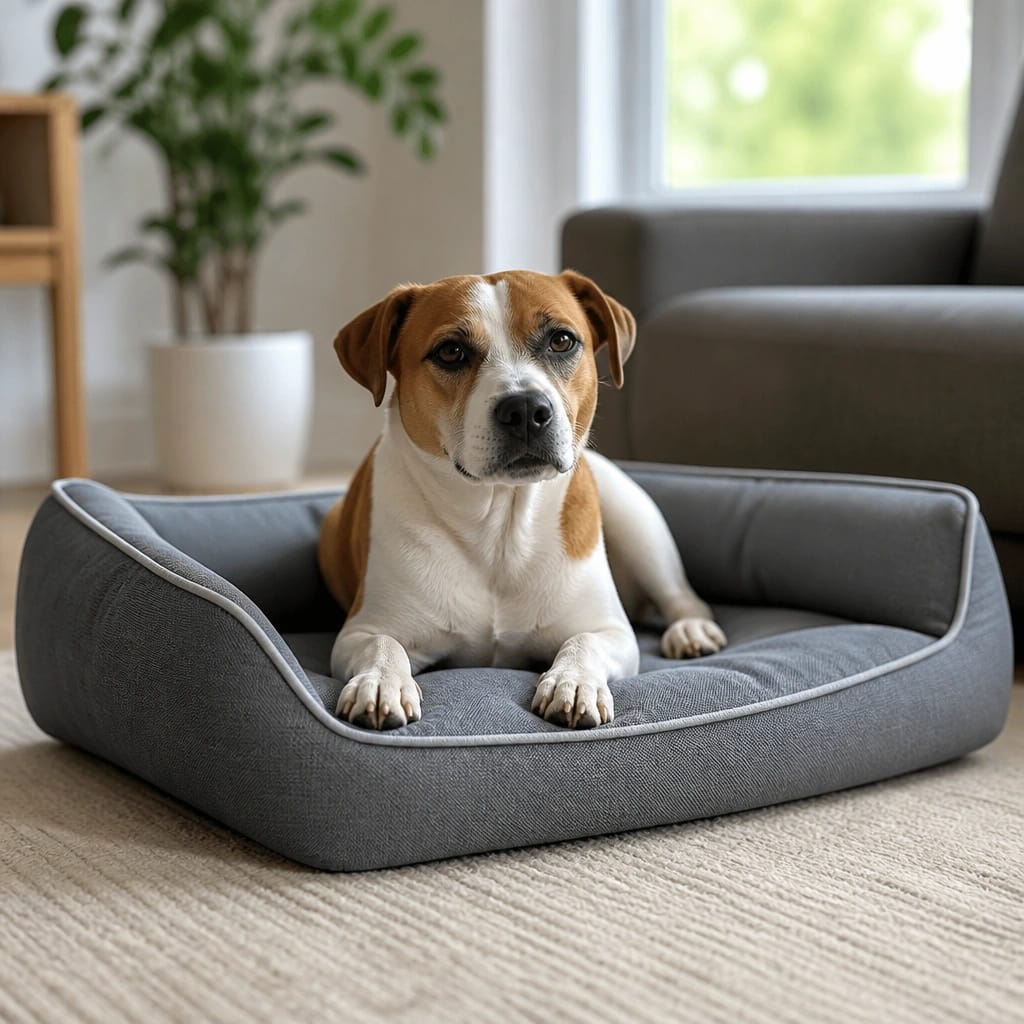
A well-built bed has four main parts: the cover, the filling, the base, and the zipper system. Each one leaves a visual fingerprint in photos. Learn those fingerprints, and you’ll spot weak designs quickly.
| Part | What good looks like | Red flag |
|---|---|---|
| Cover | Tight weave, even texture, dense fabric | Thin, translucent fabric with loose fibers |
| Filling | Clean, full shape in a side profile | Wavy edges or flat spots |
| Seams | Straight, double-stitched lines at corners | Puckered fabric or exposed single thread |
| Base | Separate bottom panel with non-slip grip | Same slick fabric as the top |
| Zipper | Tucked under a flap or along a hidden seam | Exposed track on the top or outside |
Don’t expect every photo set to show all five. Expect the brand to show at least three of them. If they don’t, ask for more pictures before you commit.
Step One: Read the Seams and Stitching Like a Pro
Zoom in on the seam junctions. These are the corners, the points where the bolster meets the base, and the edges near the zipper. That’s where a bed fails first.
Look for double-stitched seams. They show up as two parallel rows of thread running close together. Single stitching on a large dog bed is a weak point, especially if your dog loves natural digging and nesting before lying down.
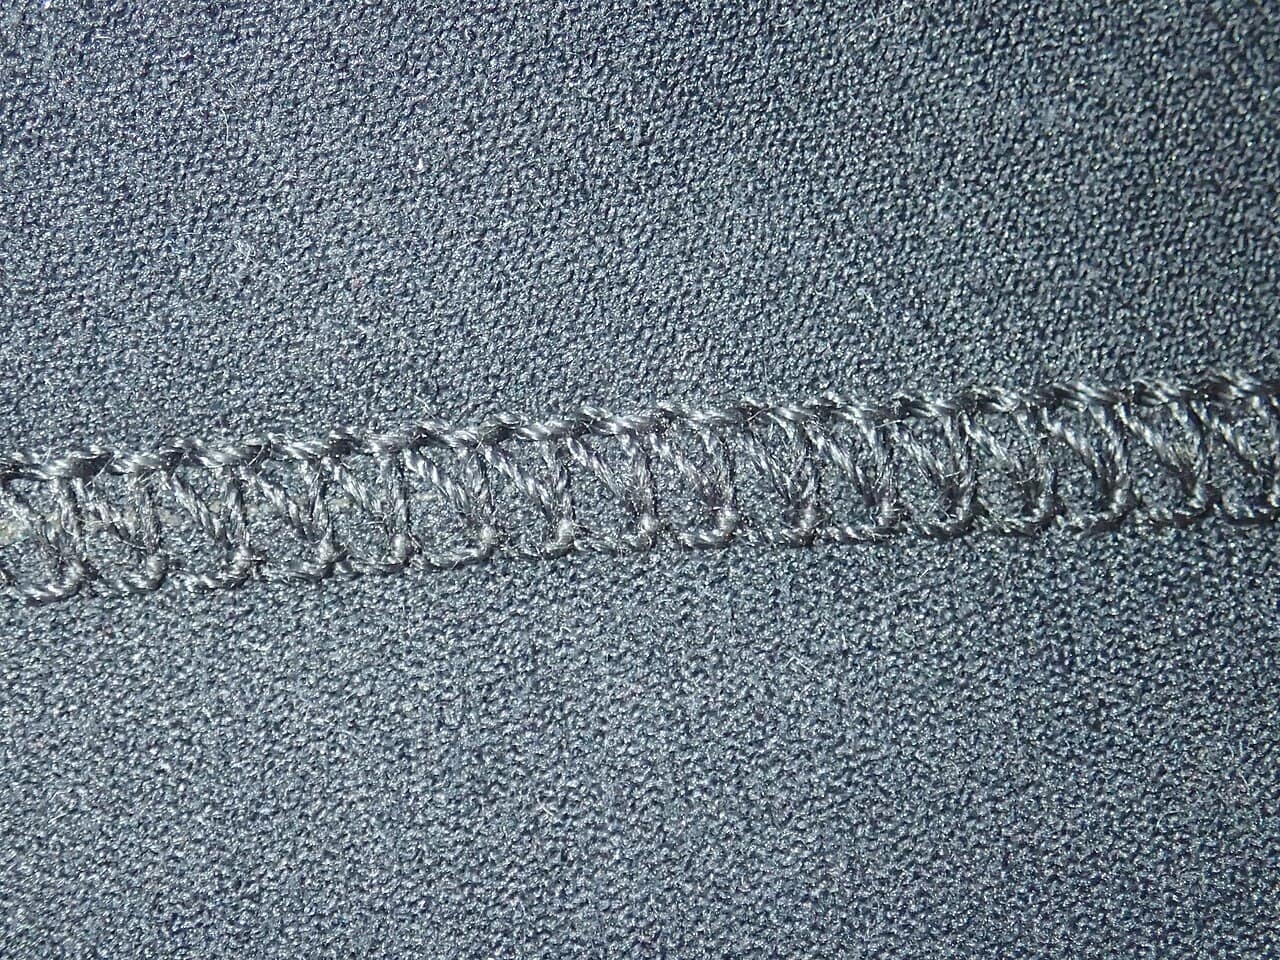
Image source: Wikimedia Commons / Peter Southwood
Piped edges are another good sign. That fabric-covered cord along the seam adds structure and protects the thread. A raw edge with bare stitching won’t last as long.
You don’t need to count stitches per inch. But if the stitches are uniform, tight, and evenly spaced, that’s a sign of quality control. Loose loops or skipped stitches mean cheap thread or a rushed production line.
If your dog chews, seams are the first place they’ll grab. Reviewing chew-proof materials can save you a lot of money.
Step Two: Find the Zipper and Judge Its Placement
Always find the zipper in the photo set before you buy. If a brand doesn’t show the zipper, there’s probably a reason.
The most durable placement is under the bed or hidden along a side seam. That keeps the zipper away from your dog’s teeth and away from snags in the wash. An exposed zipper along the top edge is a warning sign.
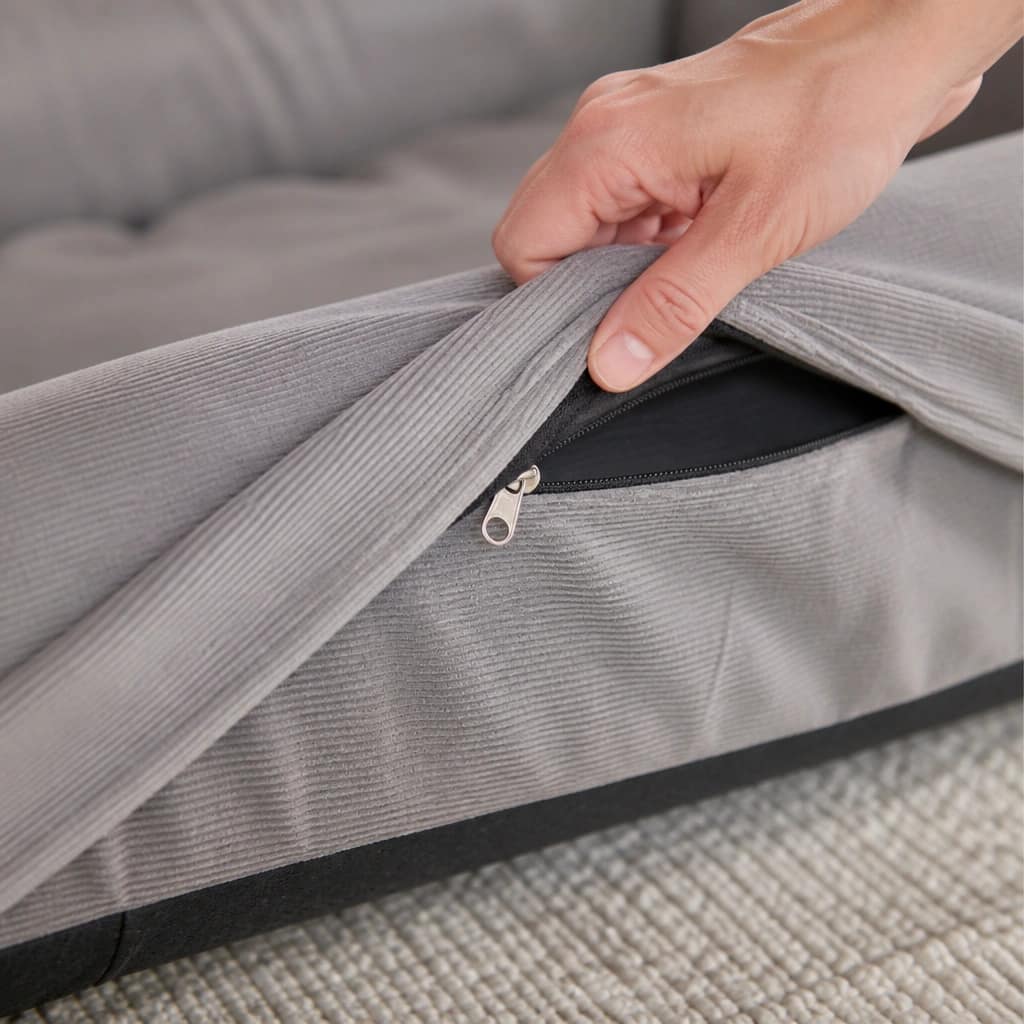
A zipper guard is a small flap of fabric that covers the track. It’s cheap to make, but it protects both the bed and your washing machine. If you can see the zipper teeth directly, look for that flap in close-ups.
For bolster-style beds, check where the zipper sits. Some brands hide it at the seam where the bolster meets the base. That’s a clean design.
Others use a zipper that curves around the bottom for easier cover removal. Both are fine. Just make sure the zipper isn’t on a surface your dog can reach.
Step Three: Measure the Foam and Bolsters Through Visual Clues
Foam thickness is where product photos get tricky. Camera angles can make a thin slab look like a thick mattress. The fix is to find a side-profile photo taken at bed level.
In a side profile, real foam has a clean block shape. Edges look sharp, and corners look square. If the bed is fiber-filled, the silhouette looks soft and even.
If it looks wavy or saggy, the filling is already tired.
Look at a dog sleeping on it. If the dog’s body sinks down to the floor, the bed is too thin for that dog. If the dog’s spine stays level with the edge of the bed, the support is probably fine.
Also look for background objects that give scale. A human hand, a remote, a door frame, or a tile grid can tell you more than the listed dimensions. And if you spot a CertiPUR-US seal in the photo or on the tag, that’s a real signal about foam content and emissions.
Manufacturer specifications may say “orthopedic support,” but the photo has to match the spec. A six-inch foam slab should look six inches tall in a side shot. If it looks like a camping mat, something’s off.
Determining thickness is meaningless if the bed doesn’t fit your dog. Our guide to puppy versus adult bed sizing gives you a clearer idea when you’re comparing photos side by side.
Step Four: Examine the Fabric and Non-Slip Base
Zoom in on the fabric texture. A tight, dense weave like canvas or Oxford cloth looks slightly rough and uniform. Loose weave shows a visible crisscross pattern and often rolls into pills later.
If the photo shows the base, check whether it uses a separate non-slip panel. A bed with the same slick fabric on both sides will slide more on hard floors.
The underside matters most for senior dogs and rambunctious puppies. Look for a dotted pattern, rubberized tread, or different material entirely. That’s the visual signature of a non-slip base.
Also note the fabric’s weight. In a close-up, heavy fabrics show more texture and casting. Thin fabrics look flat and glossy.
Using Customer Photos to Catch What Marketing Shots Hide
Marketing photos are styled, fluffed, and shot at flattering angles. Customer photos are usually taken in a messy living room with a phone. That’s exactly why they’re useful.
Look for three things in buyer photos:
- Creases and sagging that reveal loose filling.
- The bed’s true thickness alongside a recognizable object.
- Visible zipper placement that the seller forgot to photograph.
If a brand’s own photos are all professional but the customer photos show a bed that looks deflated, believe the customers. Nobody fluffs a bed for a return photo. Also compare multiple customer shots.
If the seams look crooked or the corners rounded in several independent photos, that’s the real construction.
Common Visual Tricks That Make Beds Look Thicker and Tougher
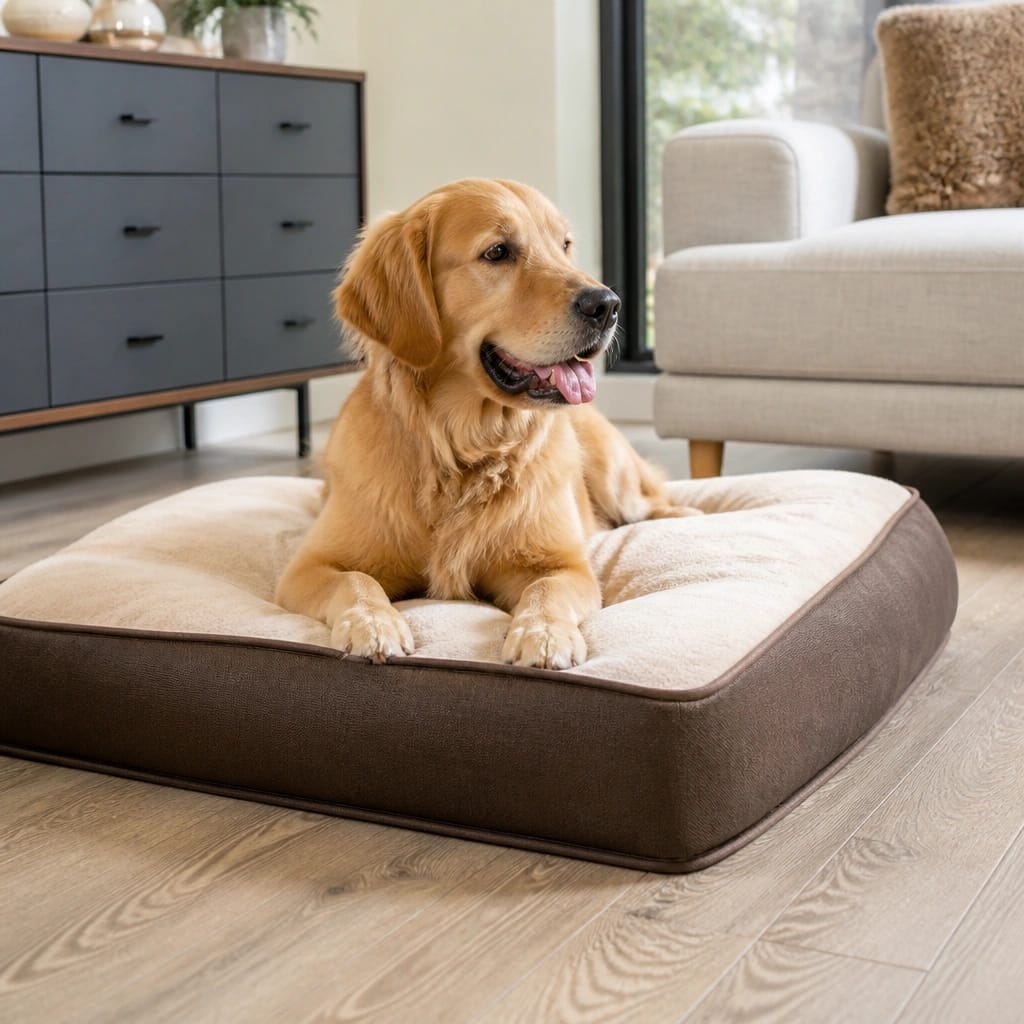
Manufacturers use a few reliable tricks to flatter a bed in photos. Once you spot them, they stop working.
- Shooting from a low angle makes a flat bed look taller.
- Fluffing the filling before the shoot inflates the loft.
- Deep shadows around the edge fake the look of a thick cushion.
- A small dog or tiny prop makes a bed appear larger.
- Pulling fabric taut over the foam hides wavy or thin padding.
Compare the listed dimensions to the proportions in the photo. A “6-inch thick” bed that looks like a thin mat next to a full-size door frame is lying to you.
A Quick Reference Checklist for Testing Any Dog Bed Photo
Run through this checklist before you buy. You’ll spot weak construction in under two minutes.
| Check | What to look for |
|---|---|
| Seam close-ups | Double stitching, piped edges, even thread tension |
| Zipper photo | Hidden flap, underlying placement, not on top surface |
| Side profile | Clean block shape, no sagging or waves |
| Fabric texture | Tight weave, UV-stable looking surface, no transparency |
| Base view | Non-slip pattern, separate bottom panel |
| Customer photos | Compare shape and thickness to marketing images |
| Scale cues | Door frames, remotes, hands, branded tags |
If a product page lacks three or more of these views, ask the seller for extra photos. Legitimate brands will send them without hesitation.
Mistakes to Avoid When Judging Construction from Images
The first mistake is trusting a single angle. One great photo can hide a dozen flaws. Always look for at least two or three different perspectives before making a judgment.
The second mistake is ignoring the zipper entirely. We’ve stressed this because the zipper determines washability and peace of mind. A bed that will be destroyed in the washer on week two is fake construction.
The third mistake is comparing beds from different brands without matching scale. One brand might show a bed beside a small Chihuahua while another shows a Great Dane. Our dog bed placement tips remind you that environment context matters.
Also, don’t assume expensive means better. A $200 bed photographed only from the top with no seam detail tells you less than a $60 bed with full construction shots.
Finally, never judge foam density from a wide shot. Side profiles and close-ups are your only honest evidence.
FAQs: Testing Dog Bed Construction from Product Photos
How can you tell if a dog bed is well made from just a photo?
Look for multiple angles showing seams, zippers, side profiles, and the base. Double-stitched seams, a hidden zipper, and clean edges are the strongest clues. If only one flattering angle exists, treat details with suspicion.
What does a good zipper look like in a product photo?
A good zipper sits along a bottom seam or under a fabric guard. It should never run across the top surface. Close-ups should show even stitching around the track without exposed teeth.
Why do customer photos look different from marketing photos?
Marketing shots use fluffed filling and flattering light. Customer photos show the bed after unpacking and normal use. Sagging, crooked seams, or a flat silhouette in buyer photos reveal real construction quality.
Is it worth asking the seller for more photos?
Yes. Legitimate brands happily send extra views. A request for a zipper close-up or a flat side profile often exposes hesitation.
If the seller refuses or stays vague, that’s a red flag.
Final Verdict: What Makes a Photo-Tested Dog Bed Worth Buying?
You can judge a lot without touching a single stitch. Read seams for reinforcement, find the zipper’s hiding spot, check the foam’s side profile, and compare against customer photos. That process filters out weak beds before they reach your cart.
The best dog bed is the one whose photos answer every structural question you have. If the page can’t prove the construction, don’t trust the price tag. Ask for more images, or move on to a brand that’s proud to show the inside story.


