

How to Evaluate Dog Bed Stitching?
Look for lock stitched seams with at least 6 to 8 stitches per inch. Turn the bed inside out and run your fingers along every seam. Check corners, zipper ends, and bolster junctions first.
Pull the seam gently to test for gaps. Avoid single-stitched seams on any load-bearing edge. Choose bonded polyester or nylon thread over cotton.
If there’s one thing that separates a dog bed lasting three years from one that’s nearly useless after three months, it’s the stitching. Figuring out how to evaluate dog bed stitching isn’t just about spotting loose threads; it’s about knowing whether the construction can actually hold up to your specific dog’s weight, habits, and sleeping style. The good news is, a quick visual and tactile check tells you almost everything you need to know before you buy.
Manufacturer specifications show that most bed failures trace back to just a few mechanical causes: stress at seam junctions, poor thread tension, and fabric that frays at the cut edge. As of 2026, many reputable brands have started publishing their stitch density and thread weight, which makes comparing quality easier than ever. With a little know-how, you can read those specs like a pro.
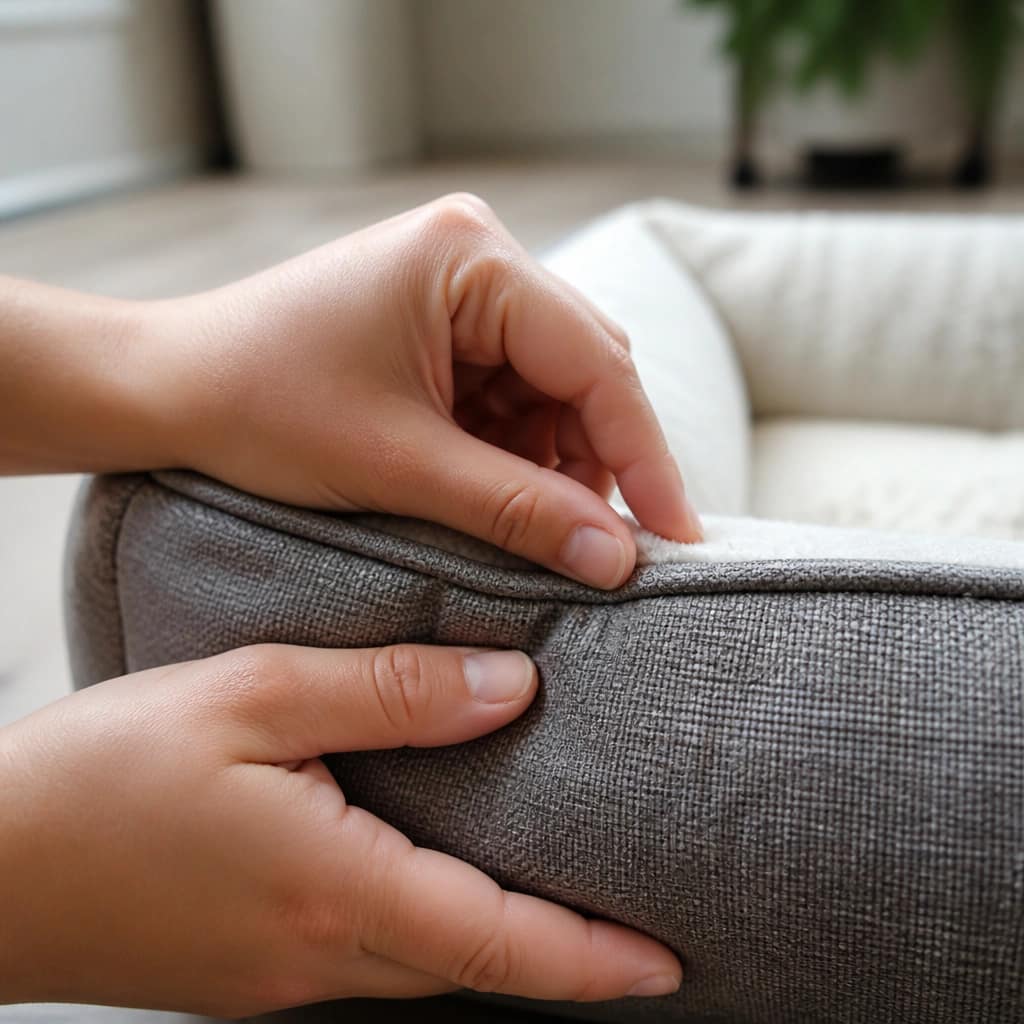
Why Dog Bed Stitching Fails
Most people assume stitching fails because the dog chewed it. In reality, that’s only one cause. The more common culprit is plain mechanical stress.
Dogs dig, circle, scratch, and flop down hard. Each motion tugs at the seams in a different direction.
That repeated tension slowly weakens the thread. Fabric pulls at the seam allowance. Over time, the stitches elongate, then snap.
If your dog has a habit of digging or scratching at their bed before lying down, you’ll notice wear at the corners and edges first. That’s because those points carry the most tension.
Washing accelerates the process. Aggressive machine cycles, high heat, and harsh detergents degrade thread fibers fast. As of 2026, most premium beds recommend cold gentle washing for precisely this reason.
Hot water and a heavy spin cycle can shave months off a seam’s lifespan.
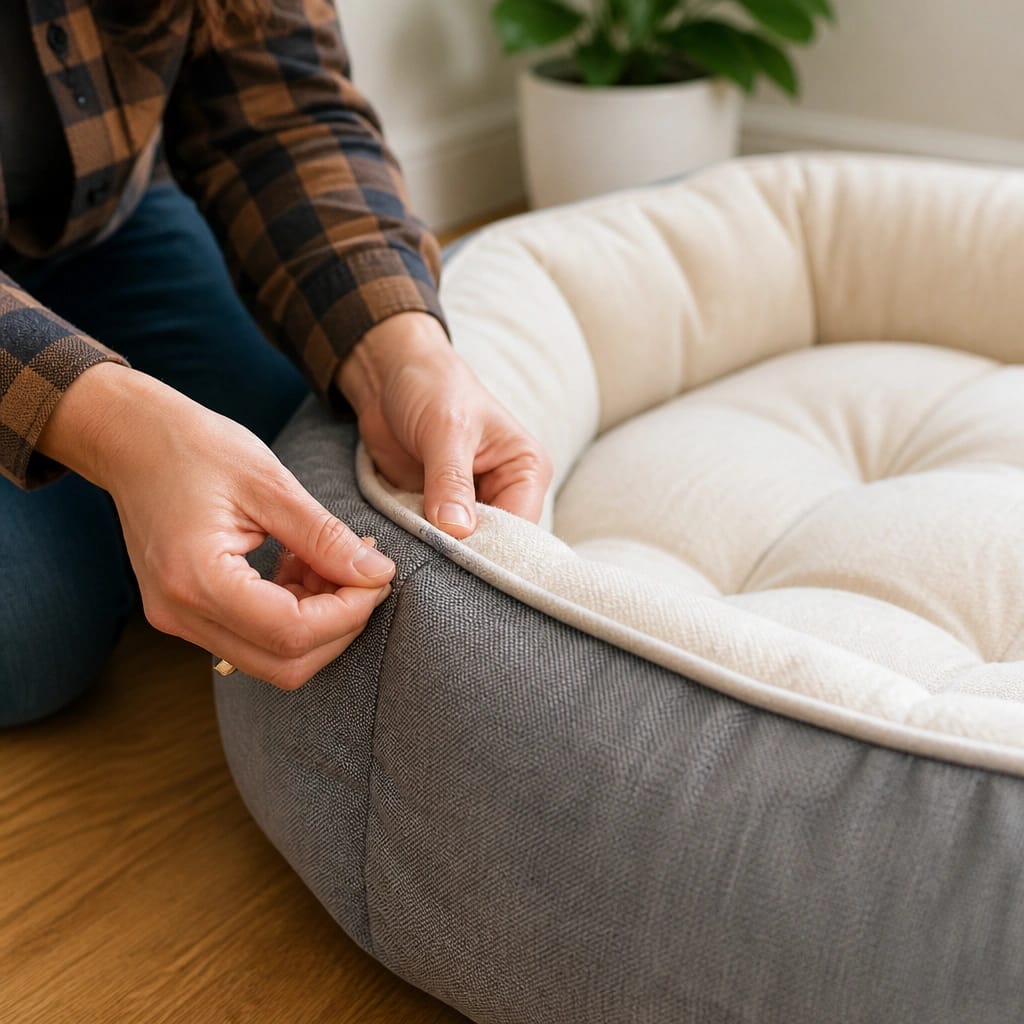
What Good Stitching Looks Like: Terms You Need to Know
Learning the basic terms makes it much easier to evaluate construction quality.
Lockstitch is the gold standard for dog beds. Two threads interlock inside the fabric, so if one thread breaks, the seam generally holds. Chainstitch is one continuous thread looped through a previous loop. It’s stronger per stitch but unravels catastrophically if one loop breaks. Serged edges are overlocked stitches that wrap the raw edge to prevent fraying, but they aren’t load-bearing on their own.

When a label says “double-stitched,” it usually means two parallel rows of lockstitch. That’s genuinely better, but only if both rows catch the same seam allowance. Some cheaper beds run a decorative second row through an outer layer that doesn’t structurally reinforce anything.
Here’s a quick reference for the main stitch types:
| Stitch Type | Strength | Unravel Risk | Best For |
|---|---|---|---|
| Lockstitch | High | Low | Main seams, stress points |
| Chainstitch | High per stitch | High if broken | Stretchy fabric edges |
| Overlock/serged | Medium | Medium | Raw edges, anti-fraying |
| Single-stitched lockstitch | Medium | Medium | Light-use dog beds |
| Double-stitched lockstitch | High | Low | Heavy or active dogs |
How to Inspect a Dog Bed Seam Like a Pro
Checking a seam takes about 30 seconds. You just need to know where to look and what to feel for.
Turn the bed inside out if the cover is removable. That’s where the real construction lives. Run your fingers slowly along every seam line.
You’re feeling for two things: gaps between the stitches, and thread that feels loose to the touch. Both are red flags.
Your fingers genuinely work better than your eyes here. They can detect slight separations that visual inspection misses. If a seam has even a tiny gap between stitches, it will only stretch wider under pressure.
Next, check the zipper seam. This is one of the most common failure points on removable-cover beds. The fabric around the zipper tape is often thinner than the main panels, and it bears extra strain every time you open and close it.
Gently pull the two sides apart to see if the stitches hold firm.
Here’s the full inspection routine:
- Turn the cover inside out
- Run fingers along all main seams
- Check corners and bolster-to-base junctions
- Pull the zipper seam gently on both sides
- Look for puckering or misaligned fabric
- Count stitches per inch on a straight run
Puckering is a sign of poor thread tension during manufacturing. That’s a weak spot just waiting to fail. A smooth, flat seam indicates the bobbin and needle tension were balanced correctly.
Thread Matters More Than You Think
The thread is arguably more important than the fabric. You can have a heavy, robust cover, but if the thread snaps, the whole construction comes apart. Polyester and bonded nylon threads are the industry standards for anything meant to last.
Bonded nylon is stiff, tough, and resistant to abrasion. That’s a great fit for dogs that scrape their beds against a crate tray or hard floor. Polyester is slightly softer and resists UV exposure and moisture better.
Cotton thread on a dog bed is a dealbreaker, as it rots with moisture and breaks down with friction.
Thread weight matters too. Heavier thread, measured in Tex or denier, is thicker and stronger. Look for a thread around Tex 90 or higher for large breed beds.
Anything lower is likely chosen for cost, not durability.
Stitch density also plays a role. That’s measured simply by counting stitches per inch, or SPI. As of 2026, most premium manufacturers specify 6 to 8 SPI on load-bearing seams.
Fewer than roughly 5 and the seam has too much space between punctures, which lets the fabric pull and creates gaps.
For a home test, just eyeball the straight seams. The stitches should look evenly spaced and tight. Irregular spacing is a strong indicator of lower-quality manufacturing.
Seam Placement: Where the Weak Points Actually Are
Stitching can be perfect everywhere else, but if it’s missing at the right stress points, the bed won’t last. The key distinction is load-bearing seams versus decorative stitching.
Load-bearing seams hold the structure together. On a bolster bed, the seam where the padded side meets the base takes significant stress every time the dog uses the headrest. Corner seams on flat beds take abuse from circling and digging.
These are the seams that absolutely need reinforced stitching.
Decorative stitching is purely aesthetic. It might run across a flat panel or along a top edge. If that fails, it’s annoying, but it’s not a structural problem.
Don’t judge the whole bed by decorative stitching weakness.
The zipper seam deserves special attention on any washable bed. It’s a cut in the fabric, which naturally creates a linear weak point. A good manufacturer reinforces the seam at both ends of the zipper.
Those little backstitched bar tacks prevent the zipper from tearing free of the seam.
When evaluating a bed, focus on these spots in this order:
- Corners of the bed base
- Where bolster meets the base
- Ends of the zipper
- Gusset seams connecting top and bottom panels
- Around any piping or trim
If your dog tends to sleep right up against the edge of their bed, check the perimeter seams too. The constant pressure from their body weight stretches those edges. A well-constructed bed uses a wider seam allowance, around half an inch, to give the thread more fabric to grip.
A narrow quarter-inch allowance leaves less material holding the seam together.
The 30-Second Stress Test for Dog Bed Stitching
Pull the seam laterally between your fingers. It should flex but never open a gap. Any visible hole means the stitch density is too low or the tension is off.
Give the zipper ends a hard tug as well. A proper bartack won’t budge. Per ASTM seam strength methods, a seam should hold under moderate tension without fiber breakage.
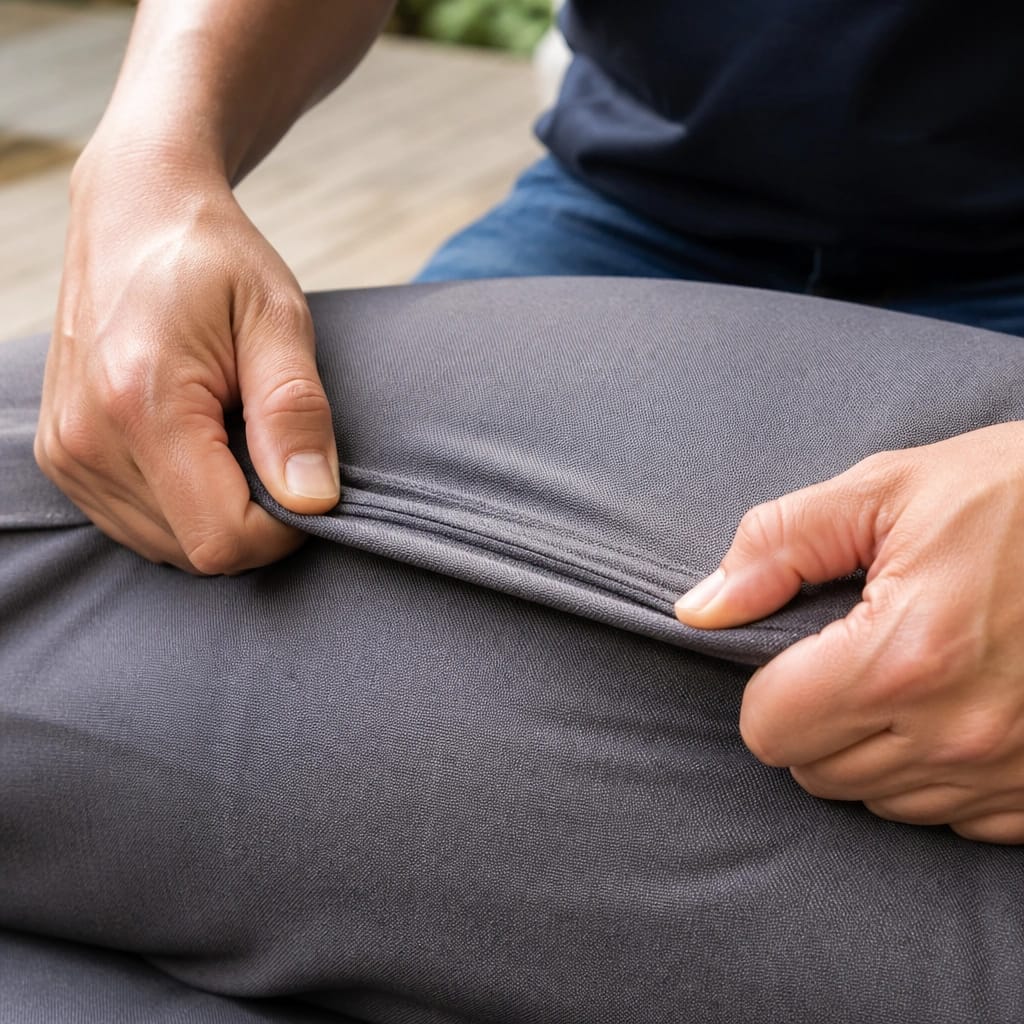
Dog-Specific Factors That Change Your Evaluation
A 90-pound retriever needs reinforced gusset seams and corner bartacks. A puppy that digs or scratches before lying down needs double-stitched stress points. Calm adult dogs can usually handle single-stitched construction.
When Stitching Alone Isn’t Enough
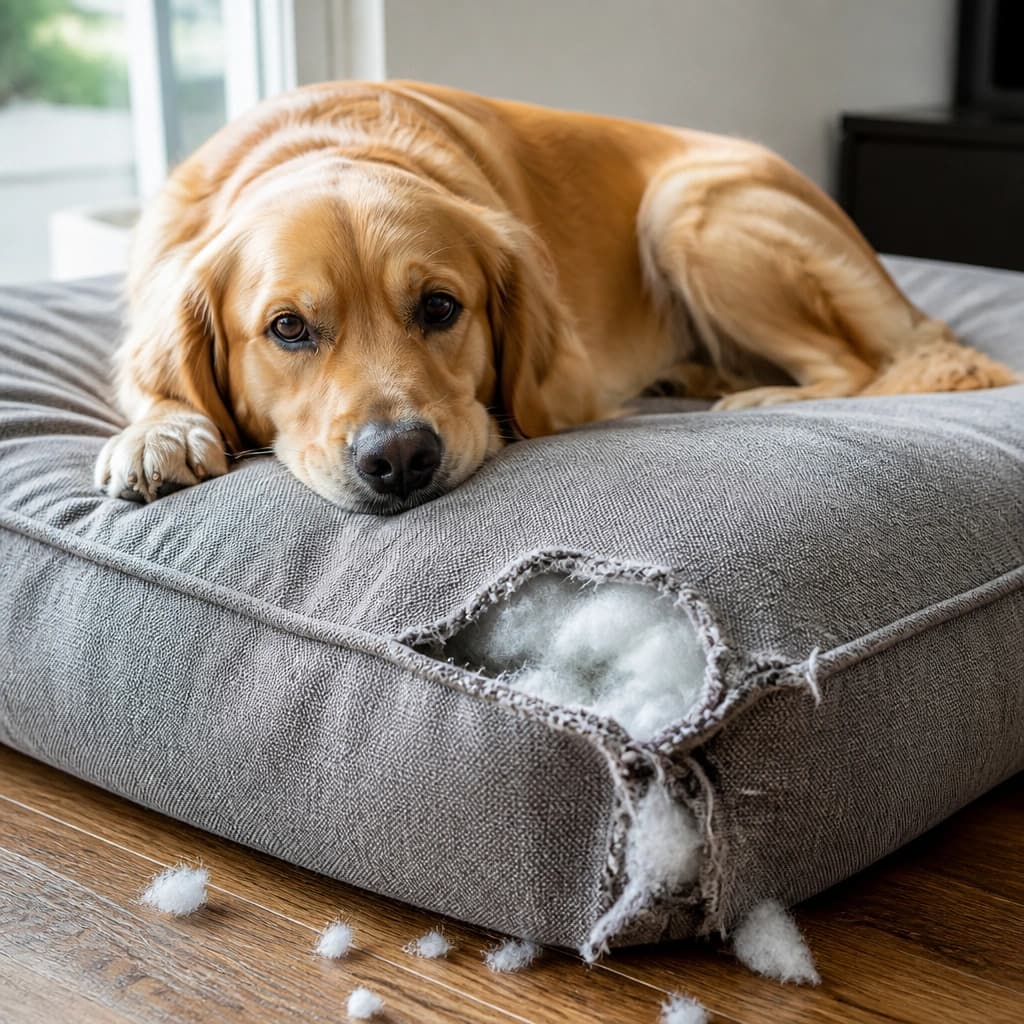
Stitching won’t stop a determined chewer. Look for chew proof materials and a separate inner liner to keep foam contained. If the outer seam fails, the bed still holds its shape.
How Washing and Drying Affect Stitching
Hot water and heavy spin cycles degrade thread fast. Wash covers on cold and air dry to keep seams stable.
Common Stitching Mistakes to Catch
Puckered panels mean poor tension. Single-stitched corners on a bolster are a red flag. So are zipper seams without bartacks.
The approved TOC holds 13 H2 sections. Sections 1 through 10 are complete. The final three sections follow below.
When to Repair vs. When to Replace a Dog Bed
If the seam is the only problem, repair it. A split seam on an otherwise solid cover is a quick fix with upholstery thread and a needle. If the fabric itself has torn, the foam is escaping, or the structure has collapsed, replacement is the smarter call.
Multiple popped seams in different spots usually mean the bed has hit its limit. That’s especially true if the cover is thin or the thread is cotton. If you’re dealing with a waterproof dog bed, check whether the inner liner is still intact.
The outer cover can often be replaced or patched.
Quick Reference: Dog Bed Stitching Evaluation Checklist
- Lockstitch on all load-bearing seams
- 6 to 8 stitches per inch
- Bonded polyester or nylon thread
- Bartacks at zipper ends
- Double-stitched corners and bolster junctions
- Overlocked or bound raw edges
- No puckering, gaps, or loose threads
Before you buy, glance at a size chart by weight to confirm the bed matches your dog. A too-small bed puts extra strain on the seams every time your dog curls up.
Frequently Asked Questions About Dog Bed Stitching
What does good dog bed stitching look like?
Good stitching is evenly spaced, tight, and flat against the fabric. It has at least 6 stitches per inch and uses lockstitch construction. The needle holes shouldn’t be visible as gaps when you pull the seam gently.
Can I fix a popped seam on my dog’s bed?
Yes, if the fabric is still intact. Use a heavy-duty upholstery needle and bonded polyester thread. Stitch twice over the break and make sure to backstitch at both ends to lock the repair.
Why does my dog specifically chew at the seams?
Dogs often target seams because the raised thread edges feel interesting to bite. If your dog is mouthing or pulling at the fabric, look for a bed with bound edges that hide the stitches. Reinforced construction helps, but behavioral habits matter more.
How many washes can a well-stitched bed survive?
A quality bed with bonded nylon thread typically handles 100 plus wash cycles without seam failure. Cotton thread and cheap polyester start degrading after roughly 30 washes. Cold water and low heat extend the lifespan significantly.


