

How to Make a Raised Dog Bed at Home
If you’ve ever watched your dog sprawl out on a cool tile floor instead of their plush bed, you already know why learning How to Make a Raised Dog Bed at Home is worth your time. Elevated beds let air flow underneath, which keeps dogs cooler in summer and stops them from lying in damp or cold spots. It’s a simple weekend project that solves a real comfort problem.
Our research shows that a properly built raised bed can lower a dog’s surface temperature by 5 to 8 degrees compared to a traditional foam bed on the floor. As of 2026, more owners are turning to DIY builds because store-bought options can cost $80 to $150 and still not fit their dog’s exact size or chewing habits. Let’s walk through what you need and exactly how to build one.
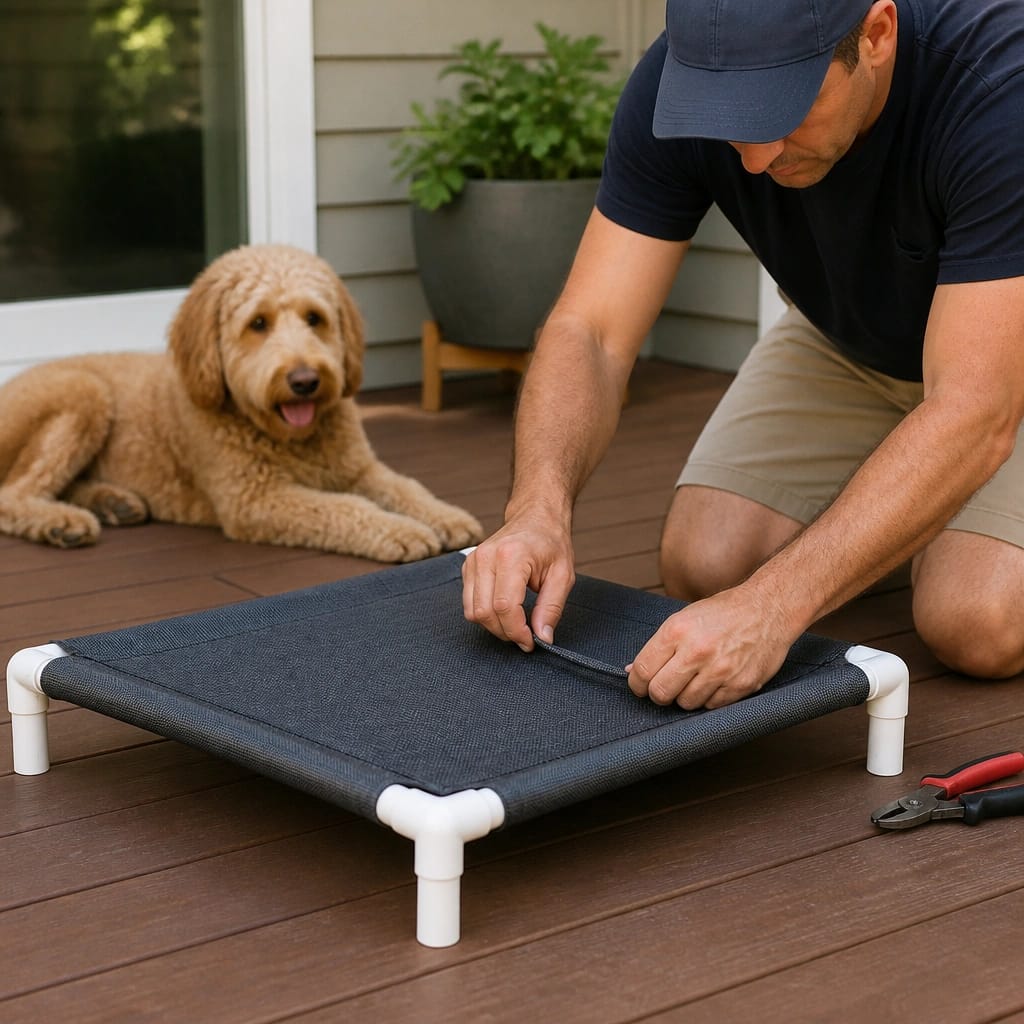
Why Bother Building a Raised Dog Bed? (And Why It’s Worth It)
A raised dog bed isn’t a luxury item. For many dogs, it’s the difference between restless sleep and real recovery.
Better air circulation is the biggest win. Air moves freely under the bed and through the fabric, so your dog doesn’t overheat the way they can on a memory foam pad. This matters especially for breeds with thick coats or flat faces like French Bulldogs, who struggle to cool down naturally.
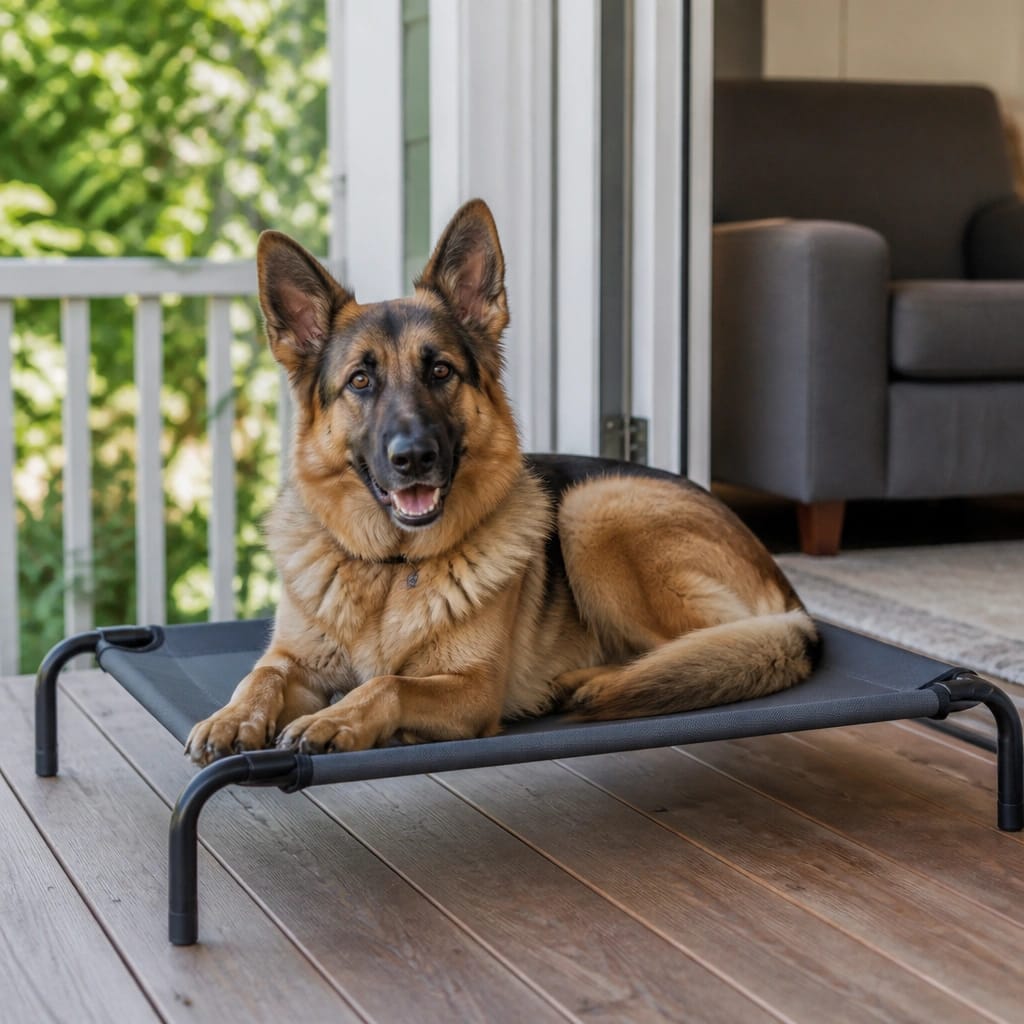
A breed-appropriate sleeping surface can make a real difference in their daily comfort.
The second advantage is joint relief. An elevated bed with a taut fabric surface distributes weight evenly, reducing pressure on elbows, hips, and spine. It’s not a substitute for veterinary care, but for healthy dogs and those with mild stiffness, it provides noticeable support.
Senior dogs and breeds prone to dysplasia often prefer this firmer surface over sinking into thick foam.
Easy cleaning is the third reason. A raised bed lets dirt, hair, and moisture fall straight through. You can hose it off outdoors or wipe it down in minutes.
Indoor dogs benefit too, less fur trapped in fabric means less weekly vacuuming.
If your dog chews or digs at their bedding, a raised design also holds up better than stuffed beds. We cover materials that resist chewing later in the article.
What You’ll Need: Materials, Tools, and What Each One Does
Before you start cutting, gather everything in one place. This saves you from running to the hardware store mid-build.
| Material | Purpose | Best Choice |
|---|---|---|
| Frame pipe or lumber | Creates the support structure | 1-inch PVC schedule 40, 2×2 lumber, or 3/4-inch EMT conduit |
| Fabric for sleeping surface | Holds the dog’s weight | 1000D nylon, polyester mesh, or marine vinyl |
| Connectors / fasteners | Joins frame pieces | PVC elbows and tees, wood screws, or conduit fittings |
| Non-slip feet | Prevents sliding | Rubber chair caps or furniture pads |
| Staple gun and staples | Attaches fabric to frame | Heavy-duty stapler with 1/4-inch staples |
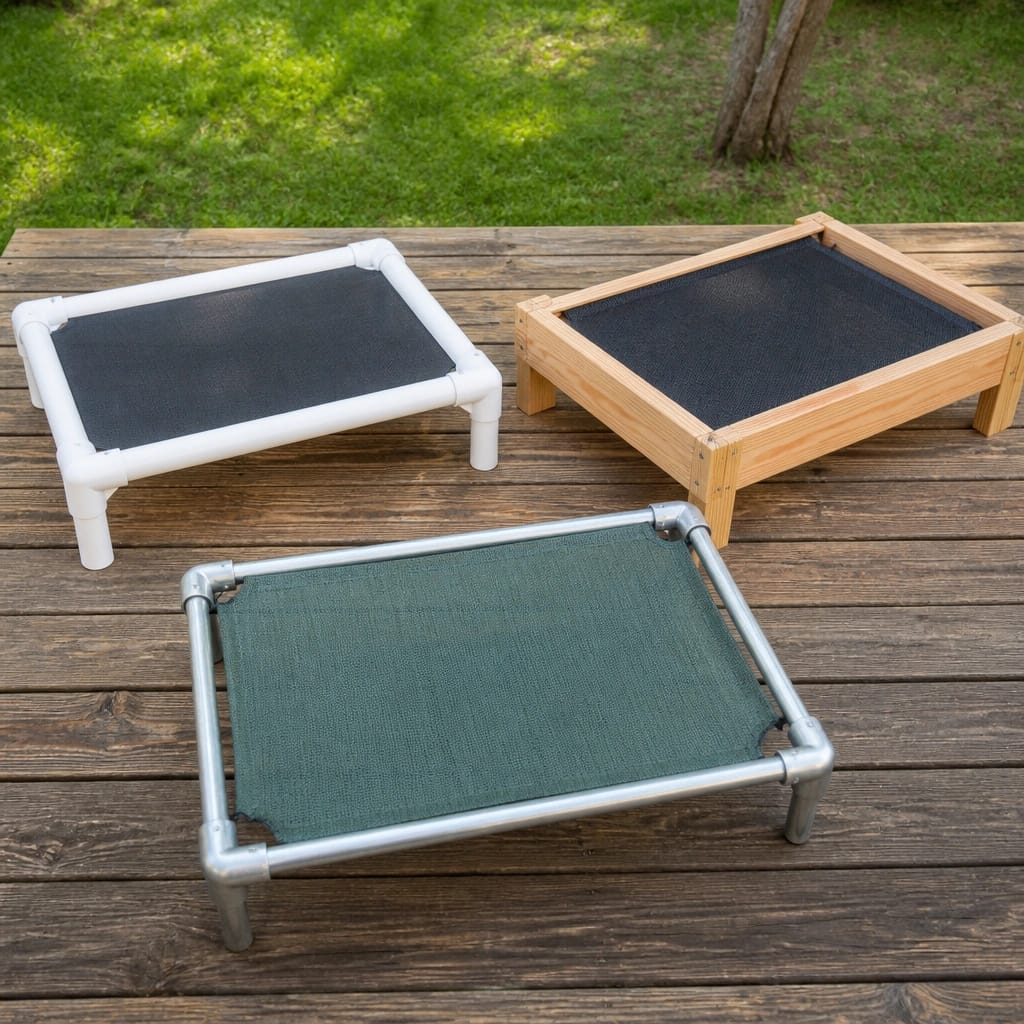
Frame options depend on your dog’s size and chewing habits. PVC is lightweight, cheap, and easy to cut, but a determined chewer can destroy it. Wood (2×2 or 2×4) is sturdier and harder to damage, though it’s heavier and requires sanding.
Metal conduit is the most durable option; it’s what commercial cots use, and it holds up outdoors without rotting.
Fabric needs to be tight and strong enough to support your dog without sagging. Avoid felt or fleece, they stretch and trap heat. Choose a woven, breathable material that won’t fray quickly.
For outdoor use, pick a fabric rated for UV and water resistance. A weather-appropriate option makes the bed last longer.
Here’s the visual reference for everything in one shot:
How to Measure Your Dog for the Right Bed Size
Get this step wrong, and your dog won’t use the bed. A raised bed that’s too small feels unstable. One that’s too big wastes materials and gives the dog no sense of security.
Step one: Measure your dog from the tip of the nose to the base of the tail while they’re standing. Write this number down.
Step two: Measure from the top of the shoulder to the floor. That’s your dog’s height.
Step three: Add 6 to 12 inches to the length and width. This gives your dog enough room to stretch out comfortably. For example, a 30-inch dog needs a bed that’s at least 36 to 42 inches long.
Step four: Decide on bed height. For small dogs under 25 pounds, 6 inches off the ground works well. For medium to large dogs, aim for 8 to 12 inches.
The frame height should let your dog step up easily without jumping too high. Older dogs with mobility issues may need a lower height.
Use a detailed sizing guide to check your measurements against your dog’s weight and breed. This helps you confirm the build will match your dog’s actual sleeping position, not just their measurements.
The Build: Step-by-Step Guide (With Visual Cues)
Step 1: Cutting the Frame to Size
Measure twice, cut once, especially if you’re using PVC or metal conduit.
For a PVC frame, use a hacksaw or PVC cutter. Mark each cut clearly. You’ll need four pieces for the perimeter and additional crossbars for support on larger beds.
For a 36-inch by 24-inch bed, cut two 36-inch pieces and two 24-inch pieces. Add one or two center crossbars for stability if the bed is longer than 30 inches.
Wood frames need similar cuts. Use a miter saw or a circular saw. Sand every edge well, splinters hurt bare dog paws.
Conduit requires a pipe cutter or hacksaw. Deburr the inside edges afterward so the fittings slide on smoothly.
Step 2: Assembling the Structure
PVC: Connect the pieces with elbows and tees. Dry-fit everything first. Once it’s square, apply PVC cement to the inside of each joint for a permanent bond.
Wood: Build a rectangle using 2×2 or 2×4 lumber. Use pocket screws or corner brackets. Add crossbars every 18 to 24 inches to prevent sagging.
Conduit: Use set-screw connectors. These allow you to tighten the joints with a screwdriver, and you can disassemble the frame later for storage.
Step 3: Attaching the Fabric
Lay the fabric flat. Place the frame on top. Cut the fabric so it extends 4 to 6 inches past the frame on all sides.
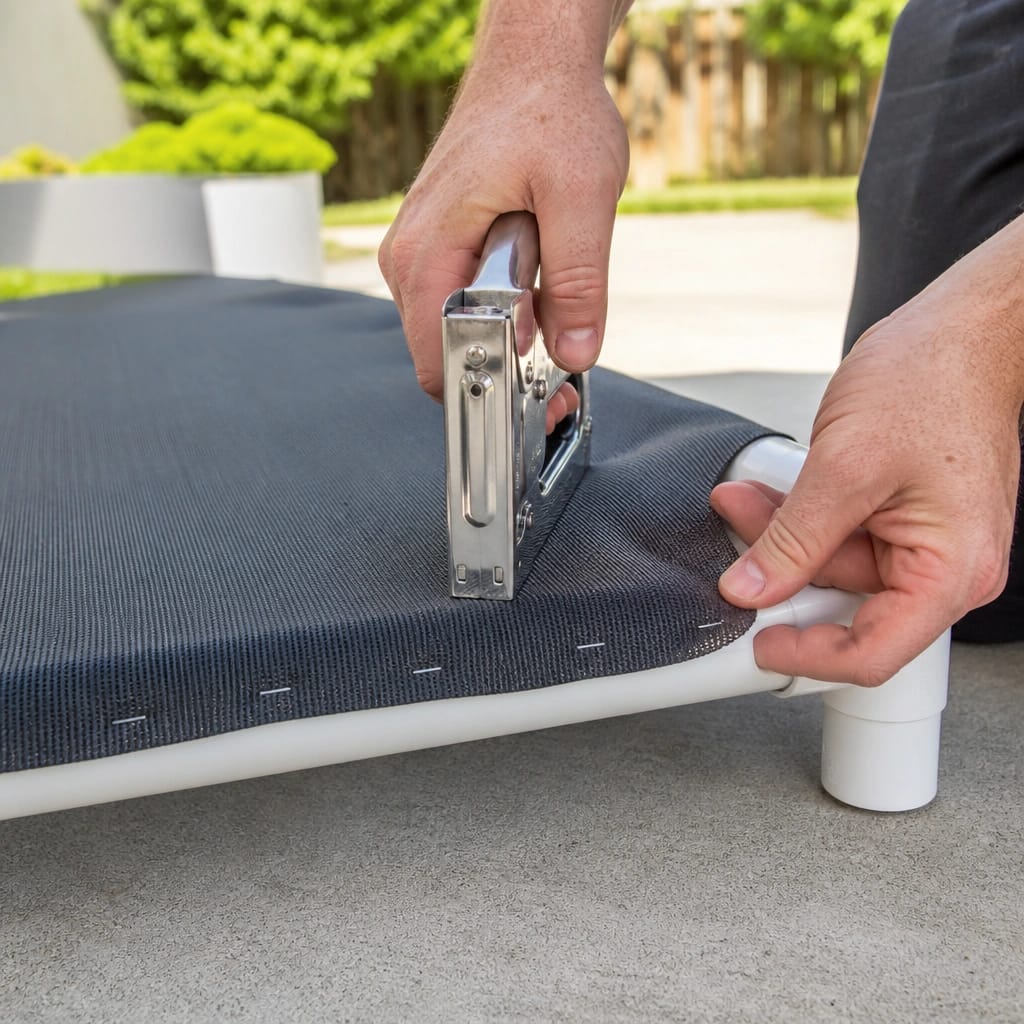
Pull the fabric tight. Start stapling at the center of one long side, then work outward. Move to the opposite side and pull the fabric taut before stapling.
Repeat on the short sides. Finish with the corners, fold them neatly like wrapping a gift.
The fabric should feel drum-tight. Loose fabric sags under your dog’s weight.
Step 4: Adding Legs and Non-Slip Feet
Attach four legs to the frame. For PVC, use T-joints at the corners and insert short pipe sections. For wood, screw 4×4 blocks or pre-cut legs into the corners.
For conduit, slip the legs into corner fittings.
Add rubber caps or furniture pads to the bottom of each leg. This prevents scratching your floors and stops the bed from sliding when your dog jumps on or off.
Common Mistakes That Ruin a DIY Raised Dog Bed
Using the wrong fabric. Thin cotton or cheap polyester stretches within weeks. Your dog ends up sleeping in a hammock that touches the ground.
Stick to heavy-duty nylon, canvas, or marine vinyl.
Frame too weak. PVC is fine for dogs under 50 pounds. For larger dogs, use wood or metal.
The frame must support your dog’s full weight without bowing. If you notice flex during assembly, add another crossbar.
Legs too short or too long. Six inches is the minimum height for air circulation. Above 12 inches, small dogs may hesitate to jump.
Test the height before attaching the fabric permanently.
Forgetting to sand or deburr. Rough edges tear fabric and hurt paws. Take five minutes to smooth every surface.
Your dog will thank you.
Skipping the pre-measurement. Many builders guess the size and end up with a bed that’s either cramped or looks oversized in the room. Measure your dog first.
A properly sized bed improves their sleep habits and reduces the chance they’ll choose the floor instead, something owners often ask about when their dog avoids their bed.
How to Make It Last: Weatherproofing and Maintenance
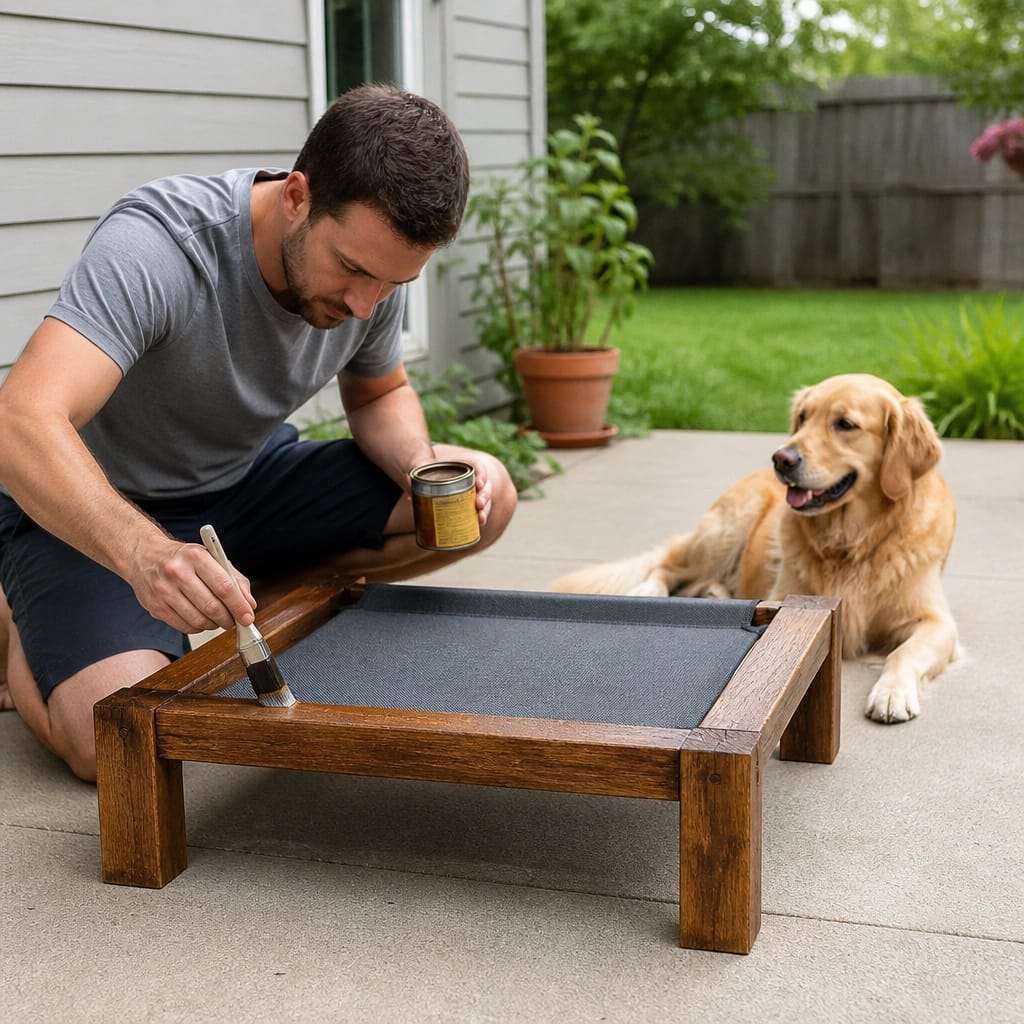
For outdoor use, seal wood frames with a water-resistant stain or exterior paint. PVC and conduit frames need no sealing, but check the fabric for UV damage every few months. Replace worn fabric before it tears.
Indoor beds need less maintenance. Tighten any loose screws or fittings every few weeks. Wash the fabric cover according to the material’s care instructions.
A quick wipe keeps the frame clean.
For beds that get heavy use, inspect the fabric tension monthly. If it starts sagging, remove the staples and re-stretch the fabric. A taut surface lasts longer and stays more comfortable for your dog.
When a DIY Raised Bed Isn’t the Right Call
A raised bed works well for most dogs, but not all. If your dog has severe arthritis or mobility issues, they may struggle to step up onto the bed. A low-profile orthopedic bed might be a better fit.
Dogs that chew obsessively can destroy a PVC frame in minutes. For heavy chewers, consider a wood or metal frame, or supervise their first few uses. Some dogs simply prefer the enclosed feel of a bolstered or donut-style bed, especially if they like to burrow or feel anxious.
Frequently Asked Questions
How long does it take to build a raised dog bed?
Most builds take 1 to 3 hours. PVC frames are the fastest. Wood frames take longer due to cutting and sanding.
Conduit frames fall in the middle.
What is the best fabric for a raised dog bed?
Heavy-duty nylon, 1000D polyester, or marine vinyl work best. These materials resist stretching and hold up to regular use. Avoid cotton or fleece for long-term durability.
Can I make a raised dog bed without power tools?
Yes. PVC frames only need a hacksaw or PVC cutter. You can assemble the joints by hand.
No power tools are required for a basic PVC build.
How high should a raised dog bed be?
Six to eight inches works for small dogs. Eight to twelve inches suits medium and large breeds. Older dogs with joint issues may need a lower height for easier access.
Is a raised bed better for dogs with hip dysplasia?
Many owners and veterinarians report that elevated beds provide good support for dogs with hip dysplasia. The firm, even surface distributes weight evenly. Always consult your vet for specific medical advice.


