

How to Clean Dog Bed Foam?
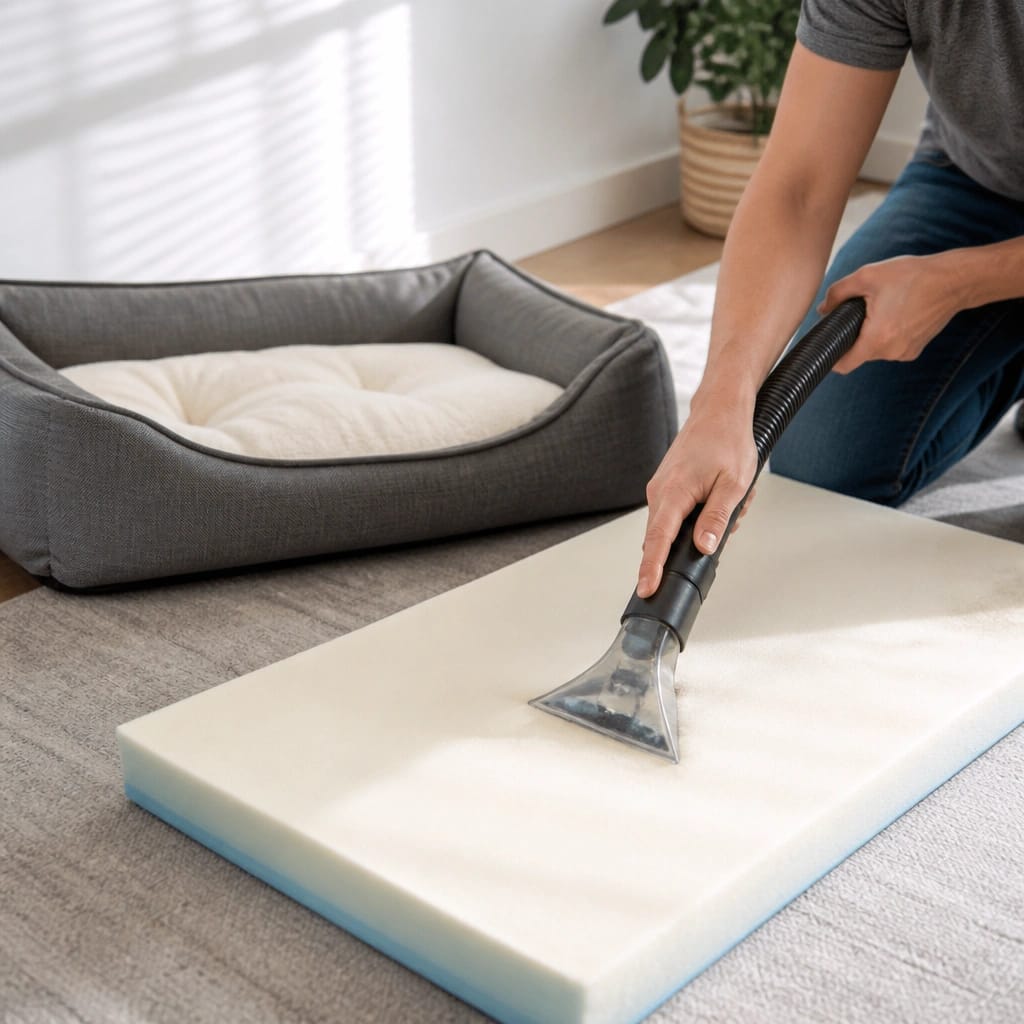
Dog bed foam needs hand washing, never a machine. Remove the cover first. Vacuum the foam to remove loose dirt. Use a mild detergent mixed with cool water. Gently scrub and rinse thoroughly. Dry the foam completely before putting the cover back on.
Your dog’s bed absorbs everything. Drool, dander, dirt, the occasional accident. Learning how to clean dog bed foam properly is the difference between a fresh sleeping spot and a hidden health hazard.
Most owners don’t realize the foam itself needs special care.
Unlike the cover, you can’t throw foam in a washing machine. Aggressive washing destroys its structure. Manufacturer specifications consistently warn against machine washing any foam core.
The good news is that hand washing is simple and effective when you follow the right steps.
Why Cleaning Foam Is Different From Washing the Cover
The cover is fabric. The foam is a sponge. That’s the fundamental difference.
A machine handles fabric just fine. Agitation, spin cycles, hot water. But foam is different.
It’s porous and absorbent. It holds water like a kitchen sponge. Put it in a washing machine and the agitation can tear it apart.
The spin cycle can crush it permanently.
Foam also dries slowly. Really slowly. A thick memory foam core can stay wet for days if not dried properly.
That’s how mold starts.
The cover protects the foam. It catches most of the dirt, hair, and accidents. But over time, moisture and odors penetrate through.
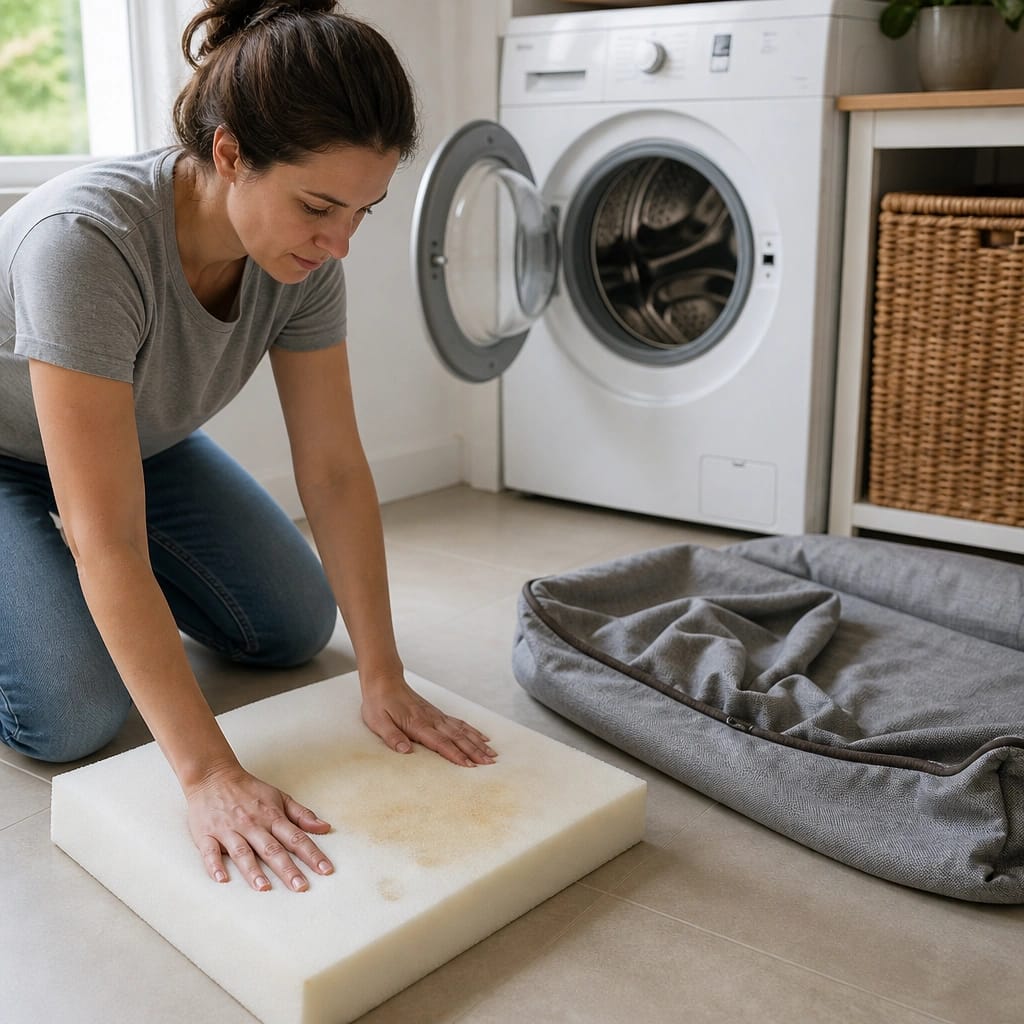
That’s when the foam itself needs cleaning. If you’re dealing with repeated accidents, a waterproof liner underneath the cover can save you a lot of trouble down the road.
What Happens If You Get It Wrong (Mold, Odor, Damage)
This is the part most people skip. And it’s the most important.
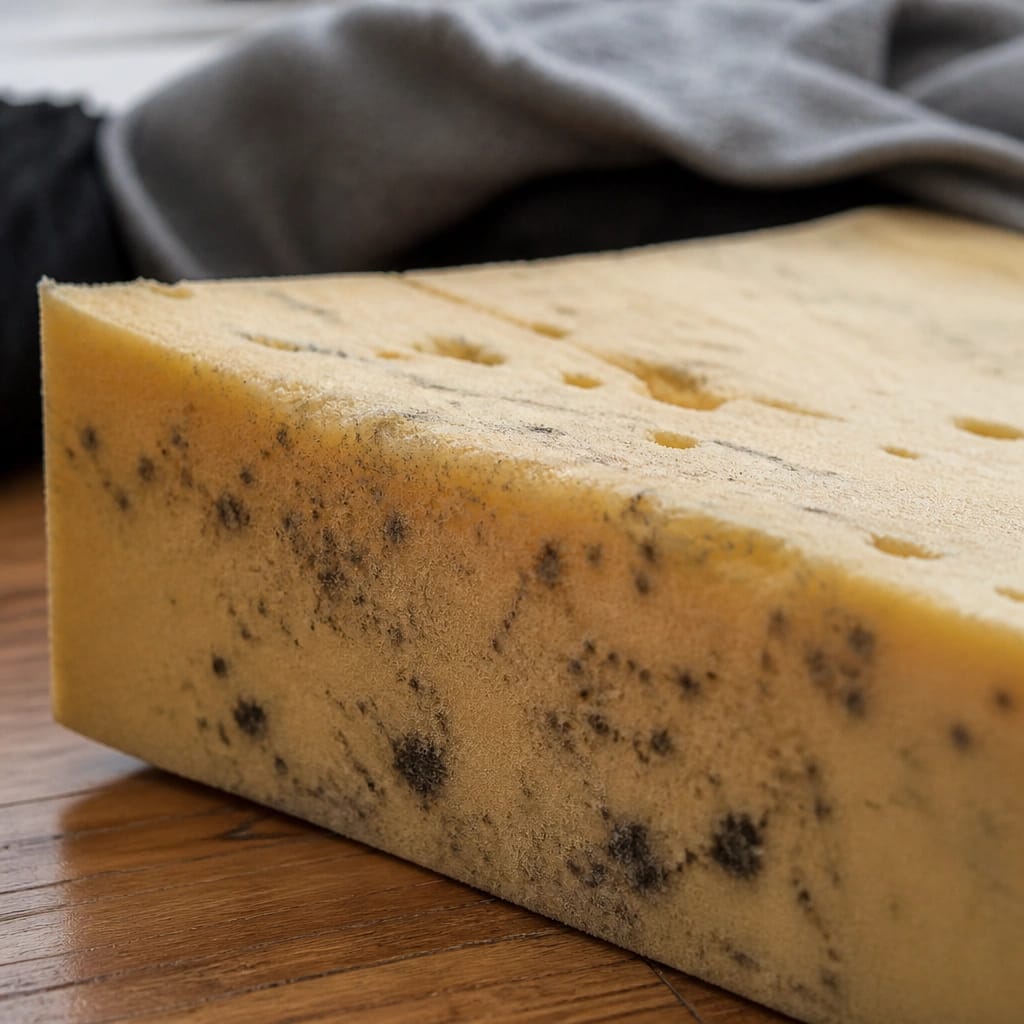
Get foam cleaning wrong and you get mold. Mold grows inside the foam where you can’t see it. Your dog sleeps on it every night.
The Environmental Protection Agency warns that mold exposure can cause respiratory issues. For dogs, that means coughing, sneezing, and long-term health problems.
The second risk is lingering odor. Urine and bacteria trapped in foam create a smell that gets worse over time. No amount of cover washing will fix it.
If you’re tired of dealing with set-in odors, the cleaning process itself needs to be thorough.
The third risk is foam damage. Harsh chemicals, heat, or aggressive scrubbing can break down the foam structure. Once that happens, the bed loses its support.
Your dog ends up sleeping on a lumpy, sagging surface. That’s especially bad for older dogs or breeds prone to joint issues.
Before You Start: What You’ll Need
Gather these items before you begin. Having everything ready makes the process much smoother.
| Item | Purpose |
|---|---|
| Mild liquid detergent | Cleaning foam without harsh chemicals |
| White vinegar | Natural odor neutralizer |
| Baking soda | Absorbs deep-set odors |
| Large tub or bathtub | Washing vessel for the foam |
| Soft sponge or cloth | Gentle scrubbing |
| Clean towels | Pressing moisture out of the foam |
| Fan or dehumidifier | Speeding up drying time |
Avoid bleach, fabric softener, and any harsh cleaners. These break down foam and leave residues that can irritate your dog’s skin. If your dog has allergies or sensitive skin, stick with fragrance-free detergent.
As of 2026, most foam manufacturers recommend keeping the cleaning solution mild. A teaspoon of detergent per quart of water is plenty.
Step-by-Step: How to Hand Wash Dog Bed Foam
Step 1: Remove the cover. Unzip it and take it off completely. Wash the cover separately in the machine following the care label. This gives you full access to the foam.
Step 2: Vacuum the foam. Use a vacuum with a brush attachment to remove loose hair, dirt, and debris. Pay special attention to the corners and edges. This step alone removes a surprising amount of grime.
Step 3: Mix your cleaning solution. Fill a tub with cool water. Add a small amount of mild detergent. For odors, add half a cup of white vinegar.
Stir gently to mix.
Step 4: Spot test. Test the solution on a small hidden area of the foam. Wait five minutes. Check for discoloration or damage.
Foam can react differently depending on its density and type.
Step 5: Gently scrub. Dip a soft sponge or cloth in the solution. Work it into the foam using circular motions. Don’t saturate the foam completely.
Focus on stained or smelly areas. For tough spots, let the solution sit for five minutes before scrubbing.
Step 6: Rinse thoroughly. Use a damp cloth with clean water to remove soap residue. Repeat until no suds remain. Soap left in the foam attracts dirt and can cause skin irritation.
This step matters more than most people think.
Step 7: Press out water. Lay the foam on a clean towel. Roll it up and press firmly. Unroll, move to a dry towel, and repeat.
Keep going until the towel comes away mostly dry. Never wring or twist the foam. That damages the internal structure.
How to Dry Foam Completely (The Trickiest Part)

Drying is where most people fail. Foam holds water deep inside. If you put the cover back on before the foam is completely dry, mold will grow.
Place the foam flat on a drying rack or elevated surface. Good airflow underneath is essential. Position a fan nearby to circulate air.
Flip the foam every few hours.
Drying time depends on foam thickness. A 4-inch memory foam core typically takes 24 to 48 hours. A thicker 6-inch core can take 72 hours or more.
Humidity and temperature also affect drying time. If you live in a humid climate, expect it to take longer.
Never use heat. No hair dryer, no space heater, no direct sunlight that gets too hot. Heat can melt or warp synthetic foam.
If you’re drying outside, keep it in the shade.
The foam is dry when it feels completely dry to the touch and no moisture comes out when you press firmly. Only then should you put the cover back on. Your dog’s health depends on that extra wait.
Common Mistakes That Ruin Foam or Cause Mold
Most foam damage happens during cleaning, not use. The biggest mistake is using hot water. Heat breaks down the foam’s internal structure.
It loses its shape and support.
Never wring or twist wet foam. This permanently crushes the open-cell structure. The foam won’t bounce back.
Other common errors include using bleach, fabric softener, or too much detergent. These leave residue that traps bacteria and attracts dirt.
Putting foam in a dryer is a guaranteed way to ruin it. The heat can melt synthetic foam. The tumbling action tears it apart.
If your dog’s scratching and digging habits have already damaged the foam surface, you’ll want to address that behavior before investing in a new bed.
How to Handle Urine, Odor, and Heavy Stains

Urine is the toughest challenge for foam. It soaks deep and bacteria multiply quickly. The best tool is an enzyme cleaner specifically designed for pet urine.
These cleaners break down the proteins in urine and neutralize the odor at the source.
Apply the enzyme cleaner generously to the affected area. Let it sit for 10 to 15 minutes. Blot with a clean towel.
Do not scrub. Scrubbing forces the urine deeper into the foam. For persistent odors, a baking soda layer left on the foam for a few hours before vacuuming can help absorb remaining smells.
For really stubborn urine issues, you may need a more targeted approach. We’ve covered how to get dog urine smell out of a memory foam bed in more detail if you’re dealing with a tough case.
When to Toss the Foam and Buy a Replacement
Not all foam can be saved. If you see widespread black or green mold spots, toss it. Mold penetrates foam deeply.
Surface cleaning won’t remove it all.
Replace the foam if it has lost its shape. Permanent sagging, lumps, or a dip in the middle mean the foam is done. Most foam cores last three to five years with proper care.
If the foam crumbles when you touch it, it’s time for a new one.
Persistent odor after a thorough cleaning is another sign. If the smell returns within a few days, the bacteria are embedded too deep. When replacing, use our dog bed size chart by weight to get the right fit for your dog.
Keeping the Foam Clean Longer (Prevention Tips)
A waterproof liner makes the biggest difference. Place it between the foam and the cover. It catches accidents before they reach the foam.
The liner is washable and much easier to clean than the foam itself.
Vacuum the foam surface every few weeks. Remove the cover and give it a quick pass with the brush attachment. This prevents dander and dirt from building up.
Wash the cover every two to four weeks. A clean cover means less grime reaches the foam.
Air the bed out weekly. Remove the cover and let the foam breathe for a few hours in a well-ventilated area. If your dog has frequent accidents, consider a waterproof dog bed designed to handle moisture from the start.
Frequently Asked Questions About Cleaning Dog Bed Foam
How often should I clean dog bed foam?
Deep clean the foam every three to six months. Spot clean stains as they happen. Wash the cover every two to four weeks to keep the foam fresh longer.
Can I use baking soda on dog bed foam?
Yes. Sprinkle baking soda over the foam and let it sit for a few hours. Vacuum it off thoroughly.
It absorbs odors without damaging the foam.
How do I dry foam faster without a dryer?
Use a fan pointed directly at the foam. Flip it every few hours. A dehumidifier in the room speeds things up significantly.
Good airflow is the key.
Is vinegar safe for dog bed foam?
White vinegar is safe and effective. Dilute it with water at a 1:1 ratio. It neutralizes odors and won’t damage the foam.
Avoid vinegar if your dog has sensitive skin.
What if my dog has allergies to cleaning products?
Use fragrance-free, dye-free detergent. Rinse the foam extra thoroughly to remove all residue. Hypoallergenic enzyme cleaners are a good option.
Consider consulting your vet for specific recommendations.


