

How to Reuse an Old Dog Bed Safely
That old dog bed has seen better days. Maybe it’s sagging in the middle. Maybe there’s a faint smell that just won’t wash out.
You’re wondering whether you can safely reuse an old dog bed or if it’s time to toss it. That’s exactly what we’re covering here.
The truth is, a dog bed’s internal structure degrades over time, even when the outside looks fine. Manufacturer specifications indicate that standard foam beds lose 30 to 50 percent of their support within two to three years of regular use. As of 2026, veterinary guidance emphasizes that an unsafe bed can do more harm than good.
Let’s walk through what actually goes wrong, how to inspect a bed properly, and when it’s safer to replace it.
The Real Problem: When Keeping an Old Dog Bed Turns Risky
Dog beds collect more than just fur. Hair, dander, saliva, and oils sink deep into the fabric and foam over months of use. If your dog has ever had an accident on the bed, moisture can soak through the cover and into the core where it never fully dries.
That trapped moisture creates a perfect environment for mold and bacteria.
The risks are real. Mold exposure can cause respiratory issues, skin irritation, and allergic reactions in dogs. Broken foam pieces or loose stuffing create a choking hazard, especially for puppies and aggressive chewers.
A bed that has lost its cushioning can also contribute to joint pain, particularly in older dogs or breeds prone to hip dysplasia. If your dog has started to avoid the bed or shows signs of discomfort, that’s a red flag you shouldn’t ignore. Some dogs may respond by licking or chewing their bed excessively, which is a behavior worth investigating.
Inspect the bed thoroughly before reusing it. Check for mold, odors, lumps, and torn seams. Wash the cover in hot water above 140°F.
Sanitize the foam core if possible. Repair minor damage like small tears or broken zippers. Replace the bed if the foam is permanently sagging or mold is present inside the fill.
What Actually Goes Wrong Inside an Old Dog Bed
Most dog owners focus on the outside of the bed. The cover might look clean, but the internal foam or filling tells a different story. Here’s what you’re really dealing with.
Hidden mold and bacteria
Urine, drool, and moisture from outdoor play can seep through the cover. Once it reaches the foam, it stays there. You can’t see it, but you can smell it.
A musty or sour odor is a sure sign of microbial growth inside the bed. Washing the cover alone won’t fix this.
Foam degradation and lost support
Polyurethane foam, which is the most common filling in dog beds, breaks down over time. It loses its ability to bounce back. You’ll notice permanent indentations where your dog sleeps.
That flat spot no longer provides proper support for joints and muscles. For a dog with arthritis or hip issues, sleeping on a flattened bed can worsen stiffness and pain.
Structural damage and choking hazards
Dogs dig, scratch, and sometimes chew their beds. Over time, seams weaken, zippers break, and stuffing can escape. Loose filling is a serious ingestion risk.
A broken zipper can leave sharp metal or plastic edges exposed. If your dog is a determined chewer, you should check what chew proof materials look like for future purchases.
Allergen buildup
Dust mites, dander, and pollen accumulate in the bed’s fabric and filling. Even regular washing of the cover may not remove everything from the core. For dogs with allergies or sensitive skin, an old bed can trigger constant itching, scratching, or respiratory issues.
| Common Bed Type | Typical Lifespan | Main Failure Mode |
|---|---|---|
| Polyester fiberfill bed | 1–2 years | Lumps, clumping, flat spots |
| Standard foam bed | 2–3 years | Sagging, loss of support |
| Memory foam bed | 3–5 years | Permanent indentations |
| Orthopedic foam bed | 2–4 years | Reduced density, odor retention |
Step 1: The Safety Inspection Checklist
Before you decide to reuse that old bed, run through a full inspection. This takes about five minutes and can save your dog from discomfort or injury.
Visual check
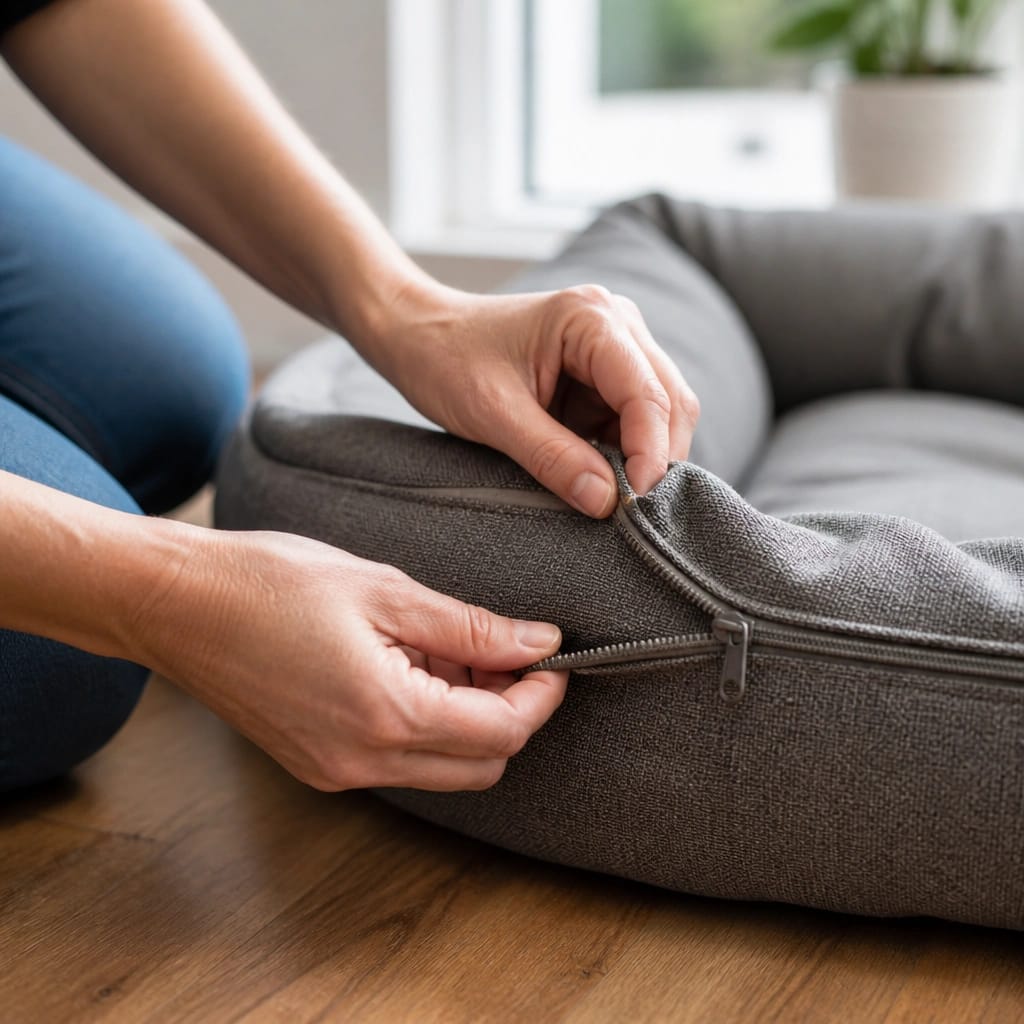
Look at every seam, corner, and edge. Are there any tears, loose threads, or holes? Check the zipper.
Does it close fully? Are any teeth missing or bent? Examine the fabric for thinning, pilling, or fraying.
If the cover is non-removable, look for stains or discoloration that could indicate trapped moisture.
Touch test
Run your hands over the entire sleeping surface. Feel for lumps, clumps, or uneven areas. Press down firmly in the center where your dog sleeps.
Does the filling spring back, or does it stay compressed? A bed that stays flat is a bed that has given up.
Smell test
Put your nose close to the bed, especially in the center and along the edges. A musty, sour, or ammonia-like smell means moisture has penetrated the core. Even if the cover smells clean after a wash, the inner foam may still be holding odor.
This is a common tell that reuse is not safe.
Compression test
For foam beds, remove the cover if possible. Press your palm into the foam. It should feel firm and resilient.
If your hand leaves a deep impression that doesn’t bounce back within a few seconds, the foam is too degraded. The bed is no longer providing adequate support.
If the bed fails any of these checks, it’s time to consider replacement. You can also check a dog bed size chart by weight to make sure the bed you’re considering is still appropriate for your dog’s current size.
Step 2: Deep Cleaning and Sanitizing
If the bed passes inspection, the next step is a thorough cleaning. A simple surface wash isn’t enough. You need to kill bacteria, remove allergens, and eliminate odors.
Remove and wash the cover
Take the cover off completely. Check the care label for temperature guidelines. For best results, wash in hot water at 140°F or higher.
This temperature kills dust mites and most bacteria. Use a pet-safe detergent free of fragrances and dyes. Add a cup of white vinegar to the rinse cycle to help neutralize odors and break down residue.
Clean the foam or filling core
This part is trickier. Most foam cores cannot go in a washing machine. Hand wash them in a bathtub or large basin.
Use cool water and a small amount of mild detergent. Gently press the foam to release dirt and odors. Do not wring or twist it, as that can damage the structure.
Rinse thoroughly until no soap remains.
Dry completely
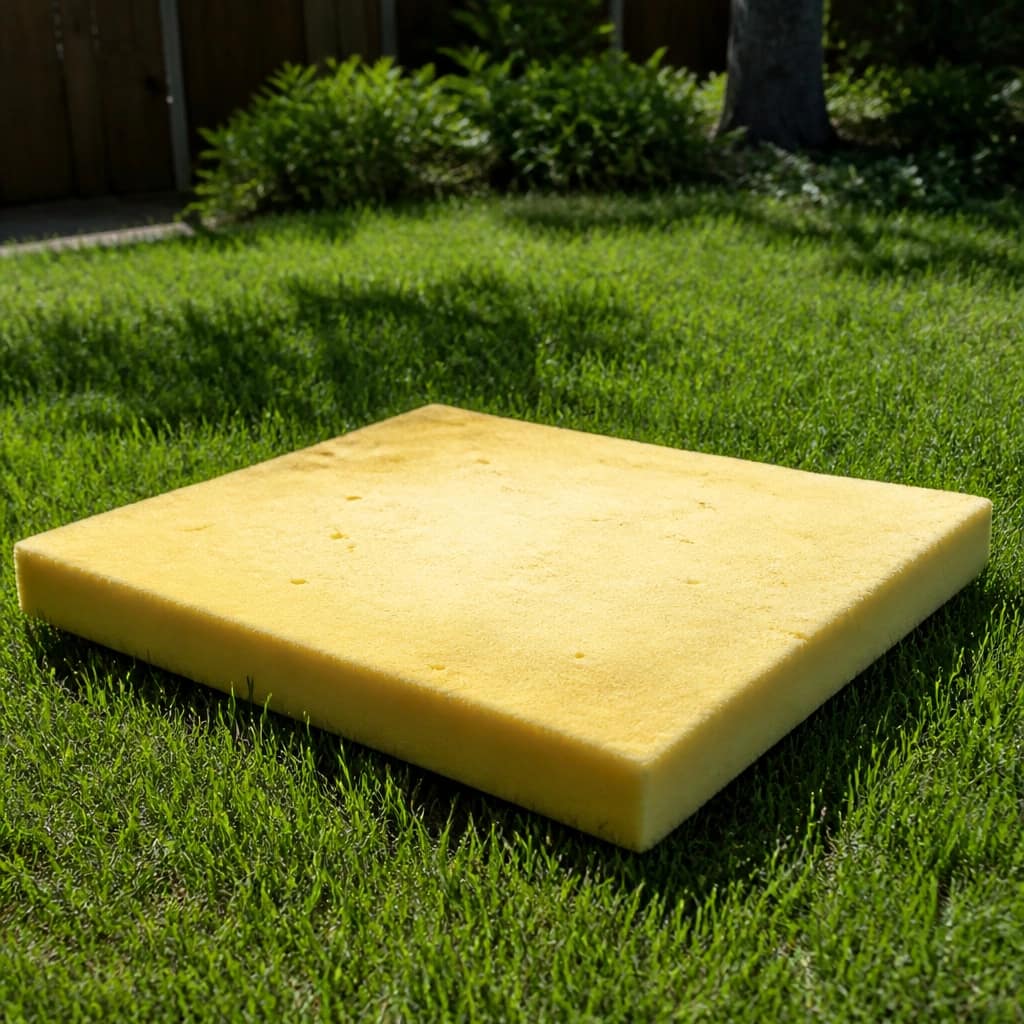
This is the most critical step. Any moisture left inside the foam will lead to mold growth. Remove as much water as possible by pressing the foam between clean towels.
Then let it air dry in direct sunlight for 24 to 48 hours. Turn it over every few hours. Sunlight provides natural UV sanitization, which helps kill remaining bacteria.
Do not reassemble the bed until the foam is fully dry to the touch all the way through.
Sanitizing options
If you want extra protection, use an enzymatic cleaner designed for pet urine and odors. These break down the organic compounds that cause lingering smells. You can also sprinkle baking soda over the dry foam, let it sit for 15 minutes, and vacuum it off.
This helps absorb any remaining odor.


