

How to Check a Dog Bed for Choking Hazards
Learning how to check a dog bed for choking hazards is one of those things you don’t think about until it’s too late. A torn seam, a loose squeaker, or a chewed zipper pull can turn your dog’s favorite sleeping spot into a serious safety risk. The good news is that a quick inspection routine takes just a few minutes and can prevent an expensive emergency vet visit.
Unlike children’s products, dog beds aren’t subject to mandatory small parts testing under regulations like those enforced by the CPSC for toys. That means the responsibility falls entirely on you as the owner. As of 2026, veterinary emergency hospitals still report foreign body ingestion from bedding as a preventable but common issue.
Here’s what you need to know about keeping your dog safe while they sleep.
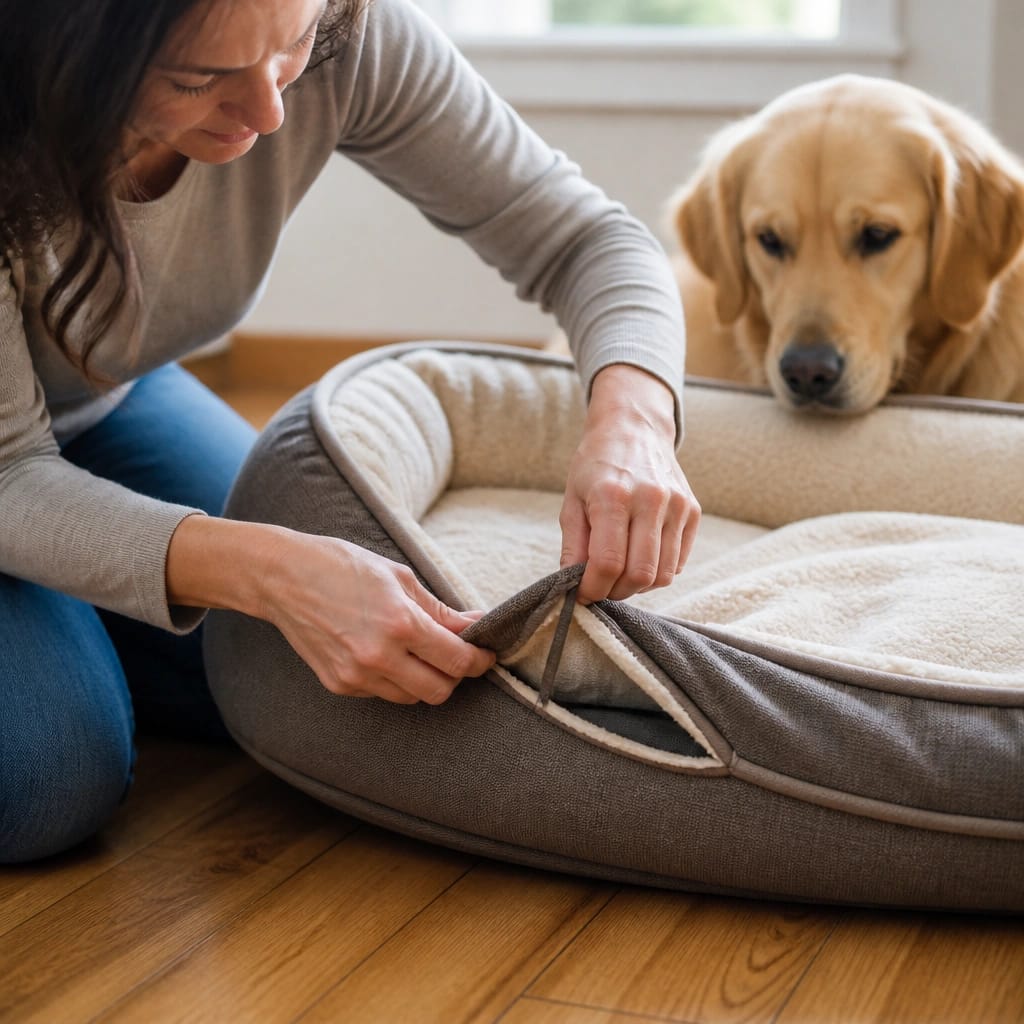
Why Checking for Choking Hazards Matters More Than You Think
Dogs explore the world with their mouths. Puppies, especially, treat everything as a chew toy. A dog bed that looks perfectly fine to you might already have a hidden loose piece inside.
The real danger isn’t just choking. It’s intestinal blockage. When a dog swallows a squeaker, a chunk of foam, or a zipper pull, that object can get stuck in their digestive tract.
Surgery to remove it is expensive, invasive, and carries real risks for your dog.
Aggressive chewers and dogs with a habit of chewing or licking their bedding are at higher risk. A routine check of the bed’s structure catches problems before they become emergencies.
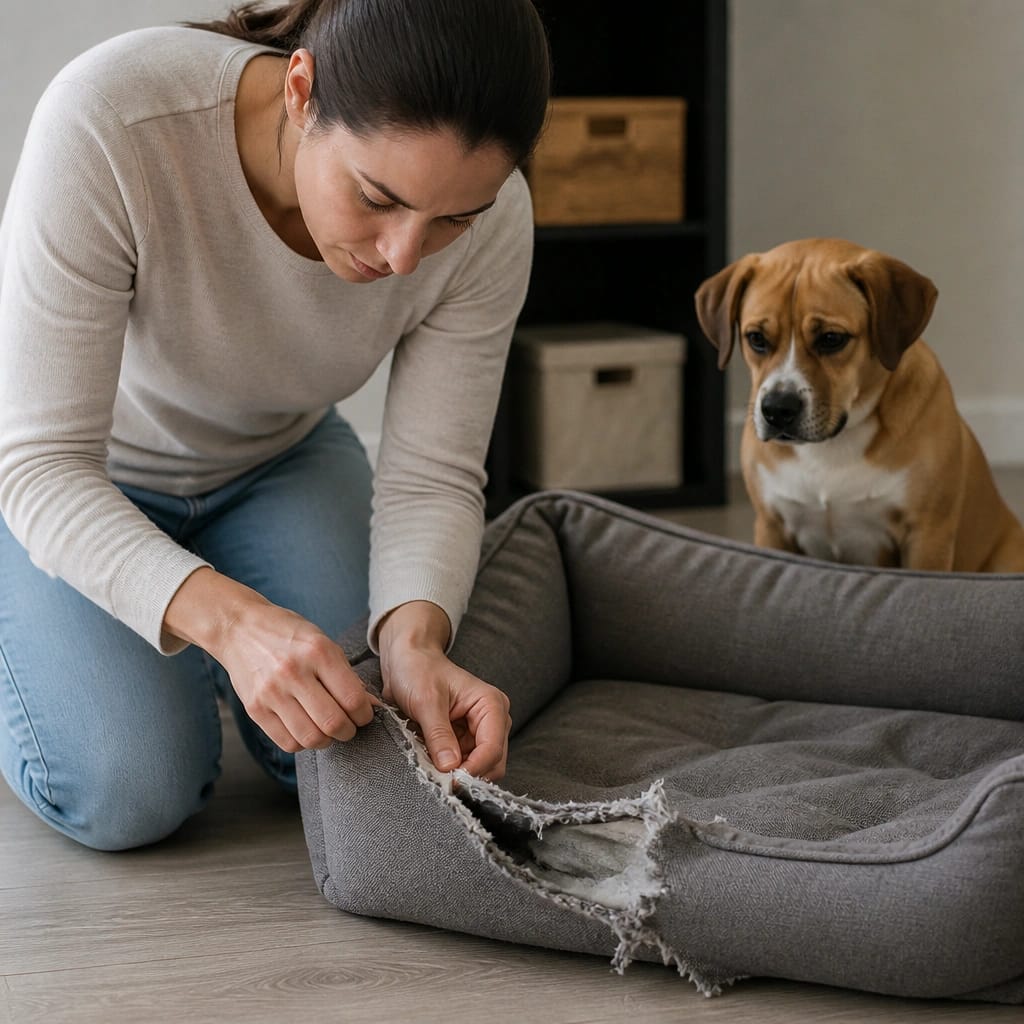
What Counts as a Choking Hazard in a Dog Bed
A choking hazard is anything small enough to fit in your dog’s mouth and cause an airway blockage or internal injury. For most dogs, that means any object smaller than their throat diameter.
Here’s what qualifies:
- Detachable parts. Buttons, snaps, tags, and plastic clips that can be pulled off
- Chewable components. Squeakers, zipper pulls, and foam pieces that can be broken apart
- Loose filling. Stuffing, shredded foam, or memory foam chunks that come out through a tear
- Rigid objects. Hard plastic pieces, metal zipper teeth, or reinforced stitching threads
The key factor is size. A golden retriever might swallow a whole squeaker without issue. A small terrier could choke on the same piece.
Always assess hazards relative to your dog’s size and breed.
The Most Common Hidden Hazards Inside Dog Beds
Most dog beds look harmless on the surface. But the hazards are hidden inside the construction. Here’s what to watch for.
Squeakers and Noisemakers
Squeakers are the most common choking hazard found in dog beds. Many beds have them sewn into bolsters or corners. When the fabric wears thin, the squeaker can pop out.
Some manufacturers embed squeakers deep inside the foam layer. You may not even know they’re there. Check the product description or feel through the cover.
If you can locate a hard plastic disc, it’s a risk.
Zippers and Pull Tabs
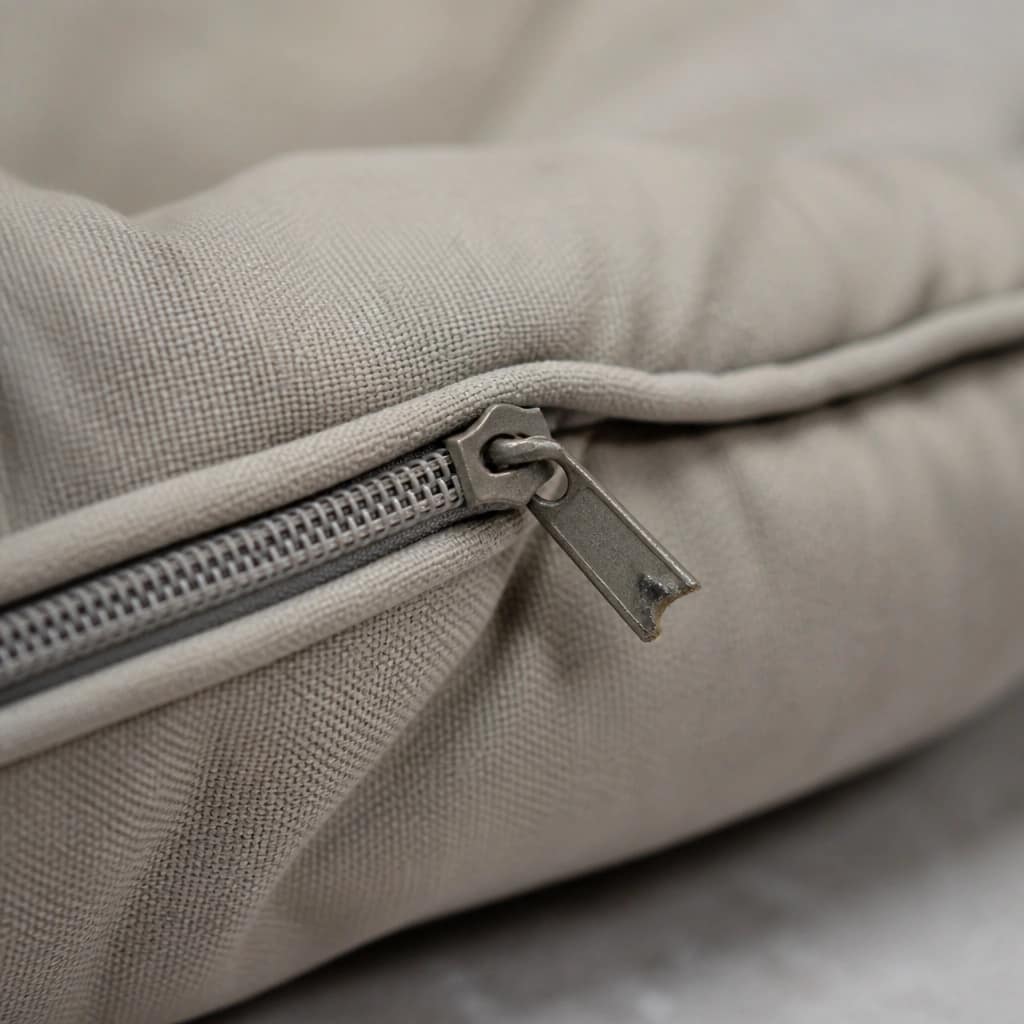
Zippers are necessary for removable covers. But the metal or plastic pull tab is easy to chew off. Once detached, it becomes a small hard object your dog can swallow.
Look for beds with a fabric flap that covers the zipper track. This simple design feature reduces the chance your dog can access the pull tab.
Buttons, Snaps, and Decorative Embellishments
Decorative elements add style but create risk. Buttons sewn onto bolster ends, snaps on covers, or ribbon ties are all potential problems. Any dog that chews will eventually find them.
Tags, Labels, and Plastic Clips
Manufacturer tags are often attached with plastic zip ties or sharp plastic clips. These are easy to bite off and swallow. Remove them immediately after purchase.
Foam and Filling Pieces
Shredded foam and memory foam can break into small chunks over time. If your dog tears through the cover, those pieces become scattered on the floor. A curious dog can inhale or swallow them.
How to Inspect a Dog Bed Step by Step
A thorough inspection takes about five minutes. Do this every month, and more often if you have a chewer.
Step 1: The Visual Scan
Look at the bed from all angles. Check for visible tears, loose threads, or exposed filling. Run your eyes along every seam.
Pay extra attention to corners and bolster ends.
Step 2: The Hands-On Feel Test
Run your hands firmly over the entire surface. Press down on bolsters and the flat sleeping area. You’re feeling for hard lumps that shouldn’t be there.
A squeaker hidden inside the foam will feel like a plastic disc.
Step 3: Check the Seams and Stitching
Inspect the stitching around the entire bed. Look for pulled threads, gaps, or areas where the fabric has separated. Double-stitched seams are more durable but not invincible.
Step 4: Examine Zippers and Closures
Open and close the zipper fully. Check that the pull tab is still attached. Look for missing teeth or fabric caught in the track.
If the zipper is damaged, the cover can’t be removed safely for washing.
Step 5: Remove and Wash the Cover
Take the cover off and inspect the inside of the bed. Look for loose squeakers, detached buttons, or foam pieces that have broken free. Washing the cover also gives you a chance to see hidden damage.
Step 6: Squeeze and Shake the Inner Bed
Hold the inner bed over a light-colored surface. Squeeze and shake it. Listen for rattling sounds that indicate loose internal parts.
Watch for small pieces of foam or plastic that fall out.
When to Repair vs. Replace the Bed
Not every issue means you need a new bed. Here’s how to decide.
Repair if:
- The damage is a small seam tear (less than an inch)
- A loose thread can be trimmed safely
- A zipper pull is missing but the zipper still closes
- A button is loose but can be removed entirely
Replace if:
- The foam is crumbling or breaking into pieces
- Multiple squeakers are exposed or loose
- The cover has large tears that expose filling
- The zipper is broken and cannot be repaired
- The bed has been chewed through in multiple spots
If you’re unsure, err on the side of replacing it. The cost of a new bed is far less than emergency surgery.
What to Do If You Find a Loose or Broken Part
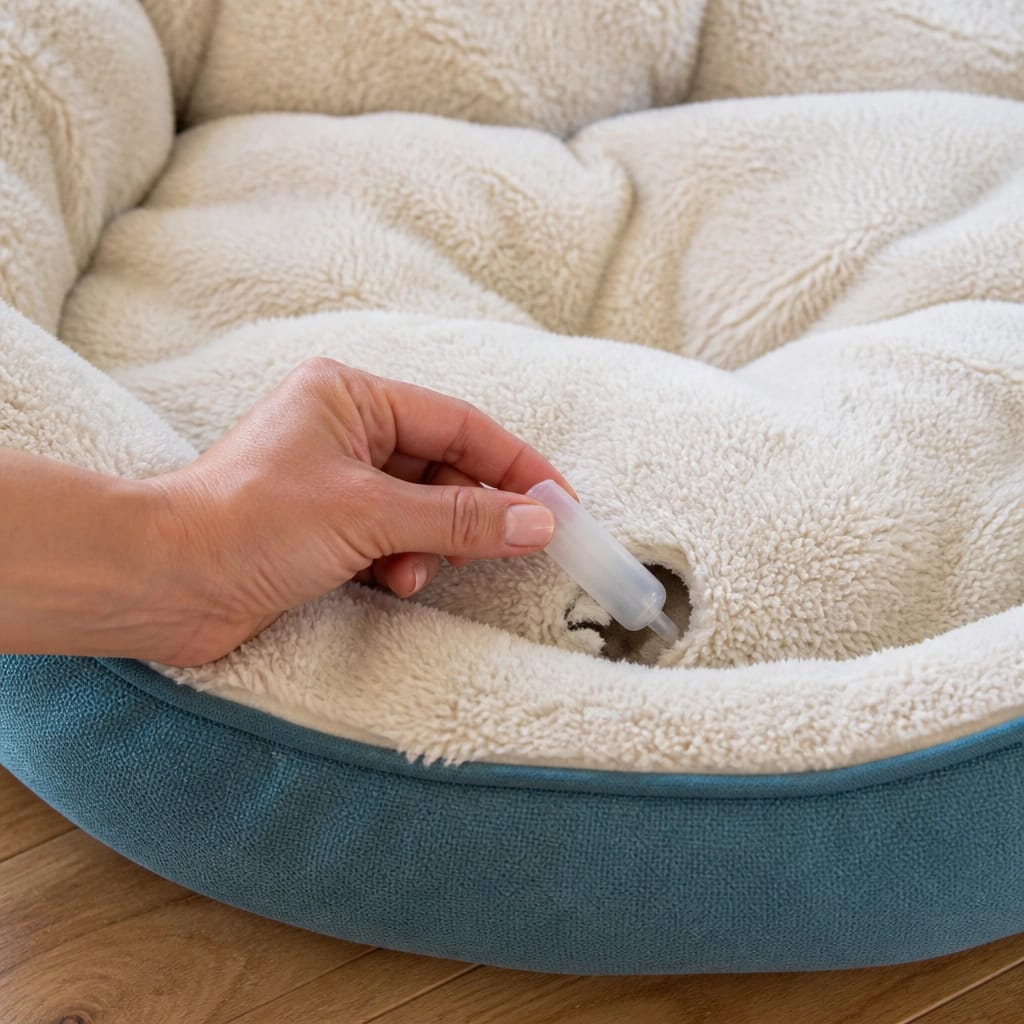
Finding a loose part doesn’t always mean panic. Here’s what to do based on what you find.
For squeakers: Remove them completely if you can access them. If they’re sewn into the bolster, cut a small opening, take the squeaker out, and stitch the hole closed. A bed without a squeaker is still comfortable.
For zipper pulls: If the pull tab is gone but the zipper still works, the bed is safe to use. Monitor the zipper teeth for damage. Consider switching to a bed with a protective flap over the zipper track.
For loose buttons or snaps: Remove them immediately. Cut them off with scissors and discard them. Your dog won’t miss the decoration.
For torn seams: Small tears under an inch can be sewn closed with heavy-duty thread. Larger tears mean the filling is exposed. That’s a replacement situation.
For exposed foam or filling: If your dog has access to the inner material, stop using the bed right away. A dog with a habit of chewing bedding can pull out and swallow filling pieces quickly.
How Often Should You Check the Bed
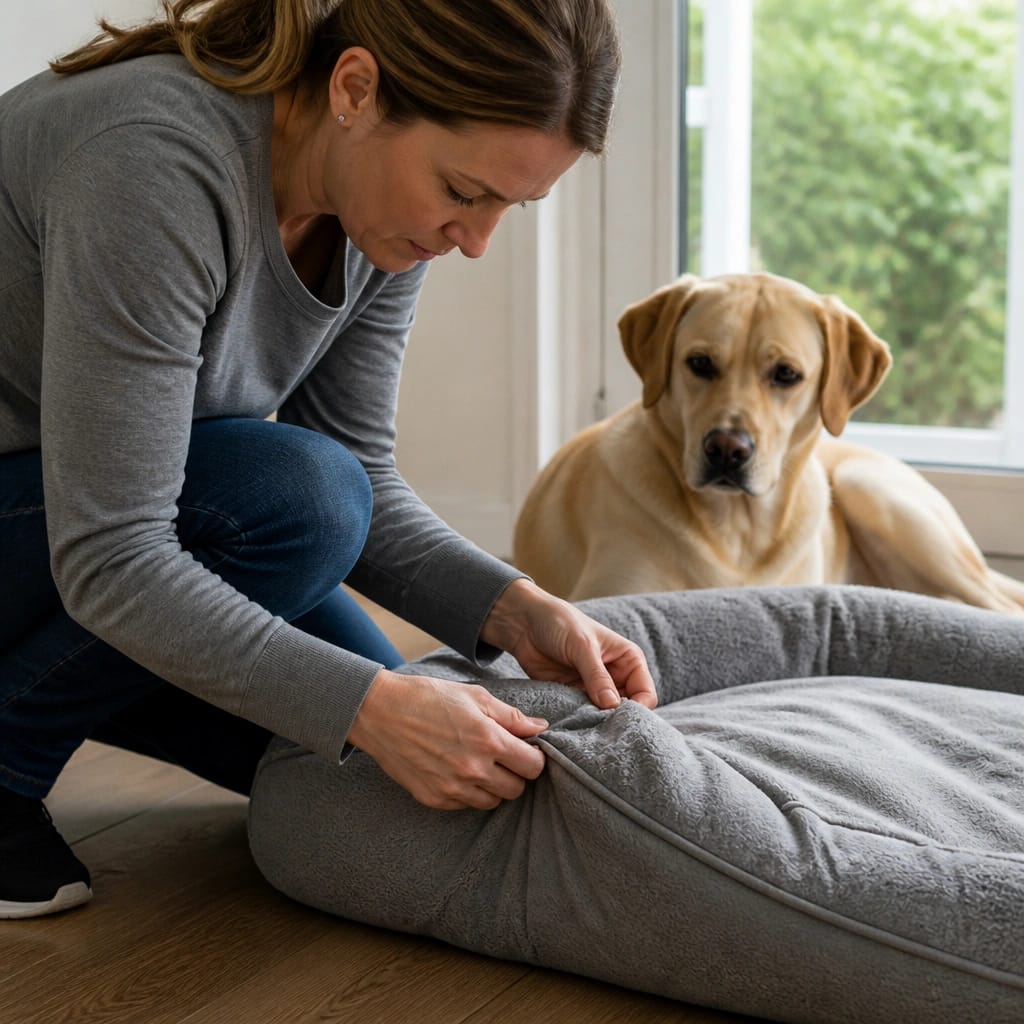
Monthly inspections catch problems early. Set a calendar reminder or tie it to something regular like changing the sheets.
Check more frequently if your dog is a known chewer. A weekly glance at the seams and a quick squeeze of the bolsters takes under a minute. For puppies, check every few days during the teething phase.
Their need to chew is stronger, and they can cause damage faster.
If you own a breed that tends to dig or scratch at their bed before lying down, you’ll want to inspect the surface more often. The repeated claw action can weaken fabric over time.
Mistakes Owners Commonly Make
The biggest mistake is trusting a bed that looks fine on the outside. Hazards are often hidden inside the foam or under the cover. That’s why the hands-on feel test and the squeeze-and-shake step are so important.
Another common error is ignoring small wear. A loose thread today can become a torn seam next week. Trim it when you see it.
Some owners also assume that a “chew-proof” bed eliminates all risk. No bed is truly indestructible. The term “chew-resistant” is more accurate.
Even the toughest materials can be worn down by a determined dog over time.
When to Call the Vet
Call your vet immediately if you suspect your dog has swallowed part of the bed. Signs include gagging, drooling, loss of appetite, vomiting, or straining to pass stool.
Don’t wait for symptoms to appear. Some objects pass through without issue, but others cause blockages that get worse over time. If you saw your dog chew off a zipper pull or a squeaker, call your vet and describe what was swallowed.
Time matters. The sooner an object is detected, the more treatment options are available. Veterinary guidance on this topic is clear: when in doubt, get checked out.
Frequently Asked Questions
How do I know if my dog swallowed a squeaker?
Watch for gagging, coughing, or retching within the first hour. Other signs include lethargy, refusing food, and abdominal discomfort. If you see any of these, contact your vet right away.
Can a dog pass a squeaker naturally?
Some small squeakers can pass through the digestive system. But it depends on the size and your dog’s breed. Hard plastic objects are more likely to cause a blockage.
Never assume it will pass.
Are all dog beds a choking risk?
No. Beds with no removable parts, no squeakers, and no decorative elements carry the lowest risk. Flat beds with a single-piece cover and a solid foam core are generally safer than beds with multiple components.
What is the safest bed for a heavy chewer?
Look for a bed with a double-stitched, tear-resistant cover and no zippers, buttons, or squeakers. Some brands use heavy-duty fabric with a waterproof liner underneath. The simpler the construction, the fewer potential hazards.
How do I remove a squeaker from a dog bed?
Feel through the fabric to locate the squeaker. Make a small cut near the seam, pull the squeaker out, and stitch the opening closed with strong thread. Most dogs won’t notice the difference.
Should I remove all tags from a new dog bed?
Yes. Remove all paper tags, plastic clips, and any attached labels immediately. These are small enough to chew off and swallow.
A simple snip with scissors takes seconds.
The article is nearly complete. Only one H2 section remains from the approved TOC. Here it is.
Quick Safety Checklist
Keep this checklist handy for your monthly inspection. Run through it in under five minutes.
- Visual scan. Look for tears, loose threads, and exposed filling around every seam.
- Hands-on feel. Press down on bolsters and the sleeping surface. Feel for hard plastic discs or lumps.
- Zipper check. Open and close the zipper. Confirm the pull tab is still attached and the teeth are intact.
- Squeeze and shake. Hold the inner bed over a light surface. Listen for rattling. Watch for falling debris.
- Remove and wash. Take the cover off. Inspect the inside of the bed for hidden damage.
- Remove all tags. Cut off paper tags, plastic clips, and attached labels immediately after purchase.
- Trim loose threads. A small thread today can become a torn seam tomorrow.
- Know when to replace. If the foam is crumbling, the cover has large tears, or multiple squeakers are exposed, buy a new bed.
A consistent inspection routine takes almost no time. It’s the simplest way to keep your dog safe while they sleep.


