

How to Repair a Dog Bed Cover?
Your dog’s bed cover has seen better days. Maybe there’s a tear from enthusiastic digging, or the zipper gave up after repeated washings. Learning how to repair a dog bed cover can save you money and extend the life of a bed your dog already loves.
As of 2026, most covers use fabrics like 600D Oxford cloth or microfiber, which are durable but not indestructible.
Manufacturer specifications indicate that covers often wear out at seams and zippers before the foam core fails. Our research shows that a simple repair can add months or even years of use. That’s good news for your wallet and the environment.
So let’s walk through the most common types of damage and the right fix for each one.
Dog bed covers can be repaired with basic sewing skills or no-sew patches. The right method depends on the type of damage you’re dealing with. A torn seam needs a different fix than a broken zipper or a chewed corner. Start by inspecting the cover carefully before choosing your repair approach.
Start Here: Identify the Damage on Your Dog Bed Cover
Before you grab a needle or adhesive patch, take a close look at what’s actually broken. The fix changes completely depending on the type of damage.
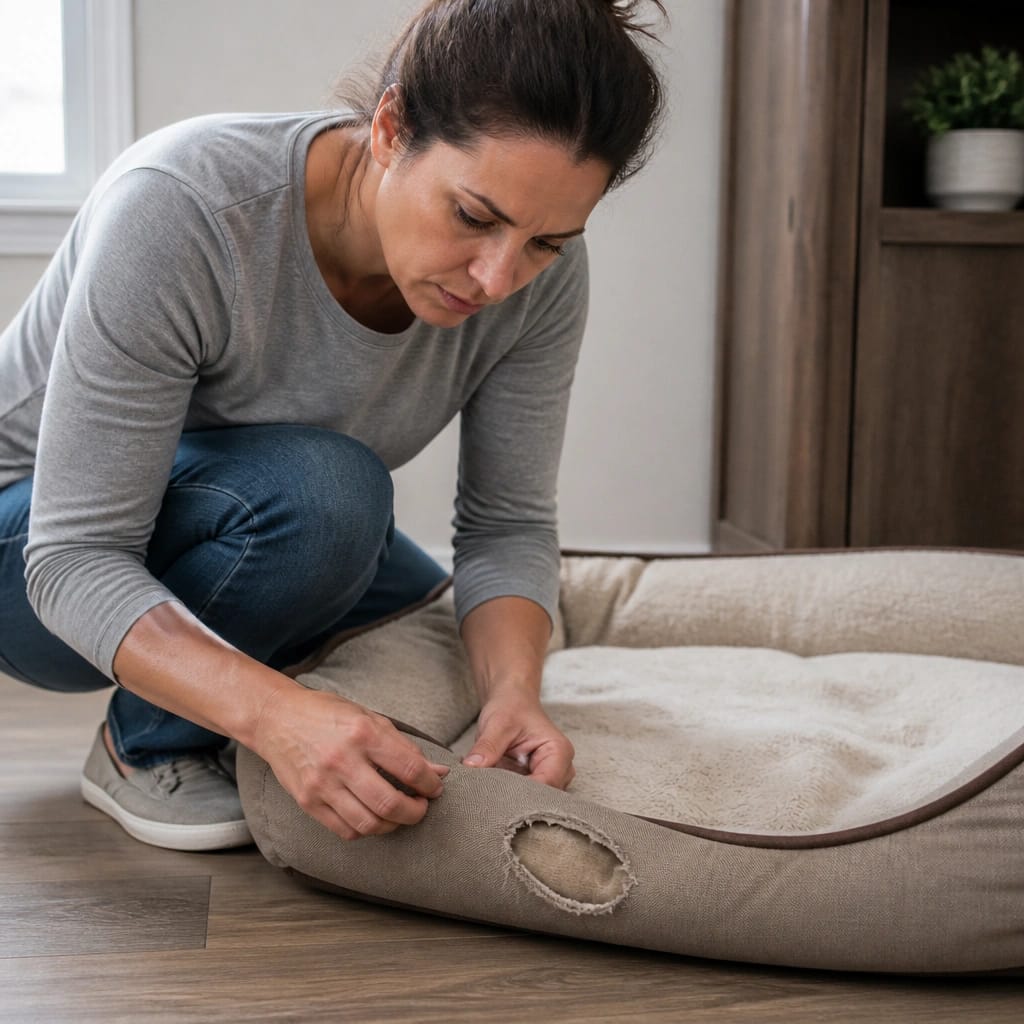
If the fabric has a clean tear or hole, you’ll need to patch or stitch the material. This is the most common issue with covers that get scratched or clawed.
If the zipper is stuck, skipping, or the slider has come off, that’s a zipper repair. You won’t need to patch any fabric, just fix the closure mechanism.
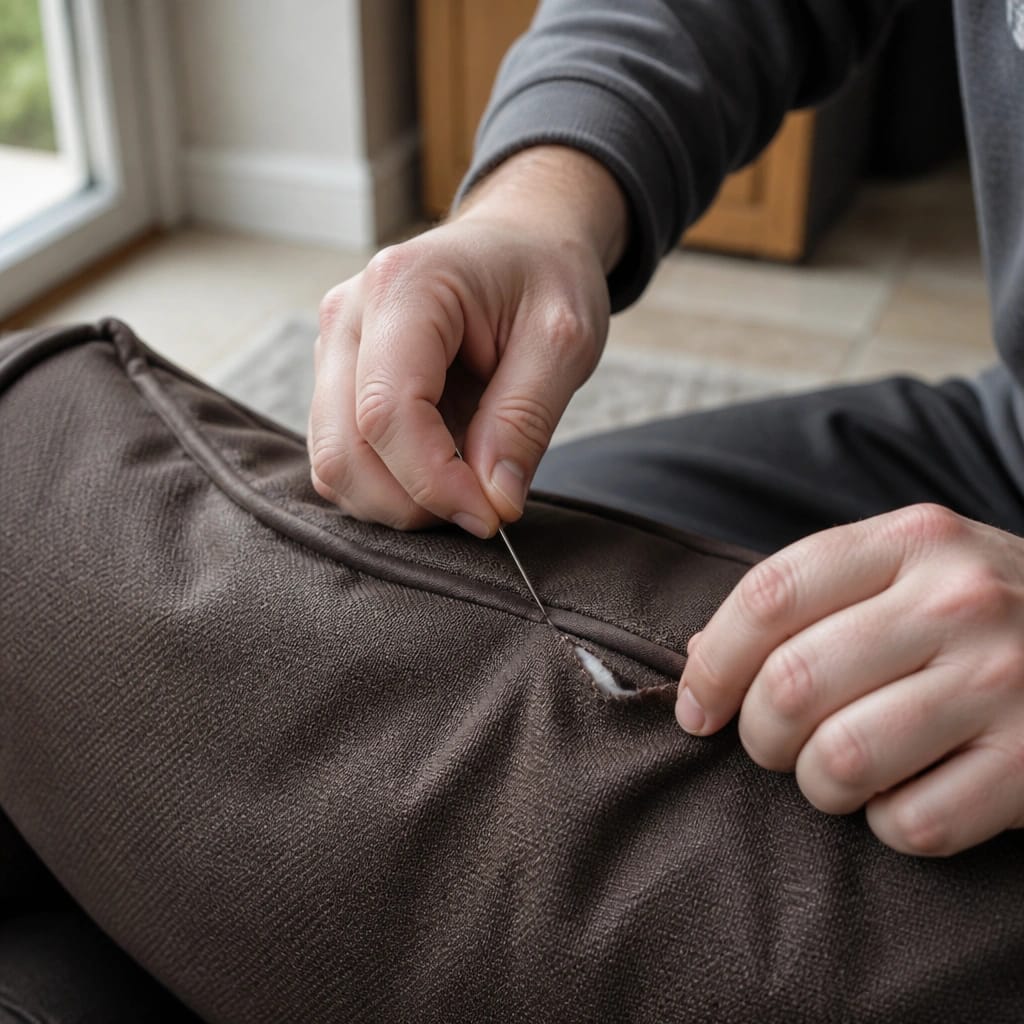
If the seam has split open, especially along a bolster or edge, you’re dealing with a seam failure. A simple restitch usually solves it.
If the corner or edge has been chewed, you’ll need to reinforce the area with a durable patch. Chewed spots often need a stronger fabric layer than the original.
Take a photo of the damage with your phone. It helps to reference it while you gather supplies. And check the rest of the cover for hidden weak spots while you’re at it.
Option A: Fixing a Fabric Tear or Hole
A clean tear or hole is the easiest repair. You have two choices: sew it or use a no-sew patch.
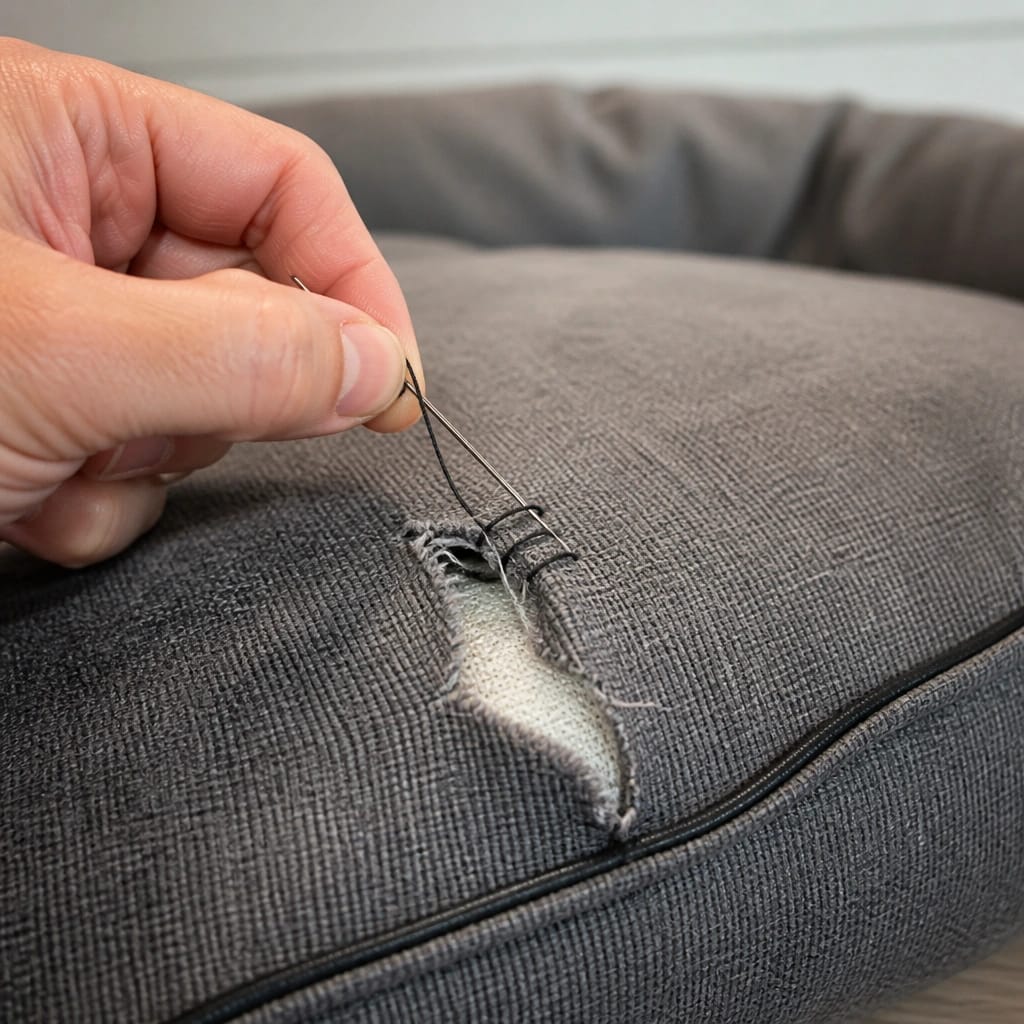
If you choose to sew: Turn the cover inside out. Pin the torn edges together so they meet evenly. Use a heavy-duty thread and a needle suited for the fabric weight.
A straight stitch works for small tears under two inches. For longer rips, use a zigzag stitch to allow some stretch. Sew a second line about a quarter inch from the first for extra strength.
If you choose no-sew: Use an iron-on adhesive patch designed for heavy fabrics. Cut the patch to overlap the tear by at least half an inch on each side. Follow the patch instructions carefully.
Most require a hot iron for 15 to 30 seconds. Our research shows that no-sew patches hold best on flat areas, not around curved bolsters.
For both methods, let the repair cure for 24 hours before putting the cover back on the bed. This is especially important for adhesive patches.
Option B: Repairing a Broken Zipper
Zipper problems are frustrating but often fixable. Here’s how to diagnose the issue.
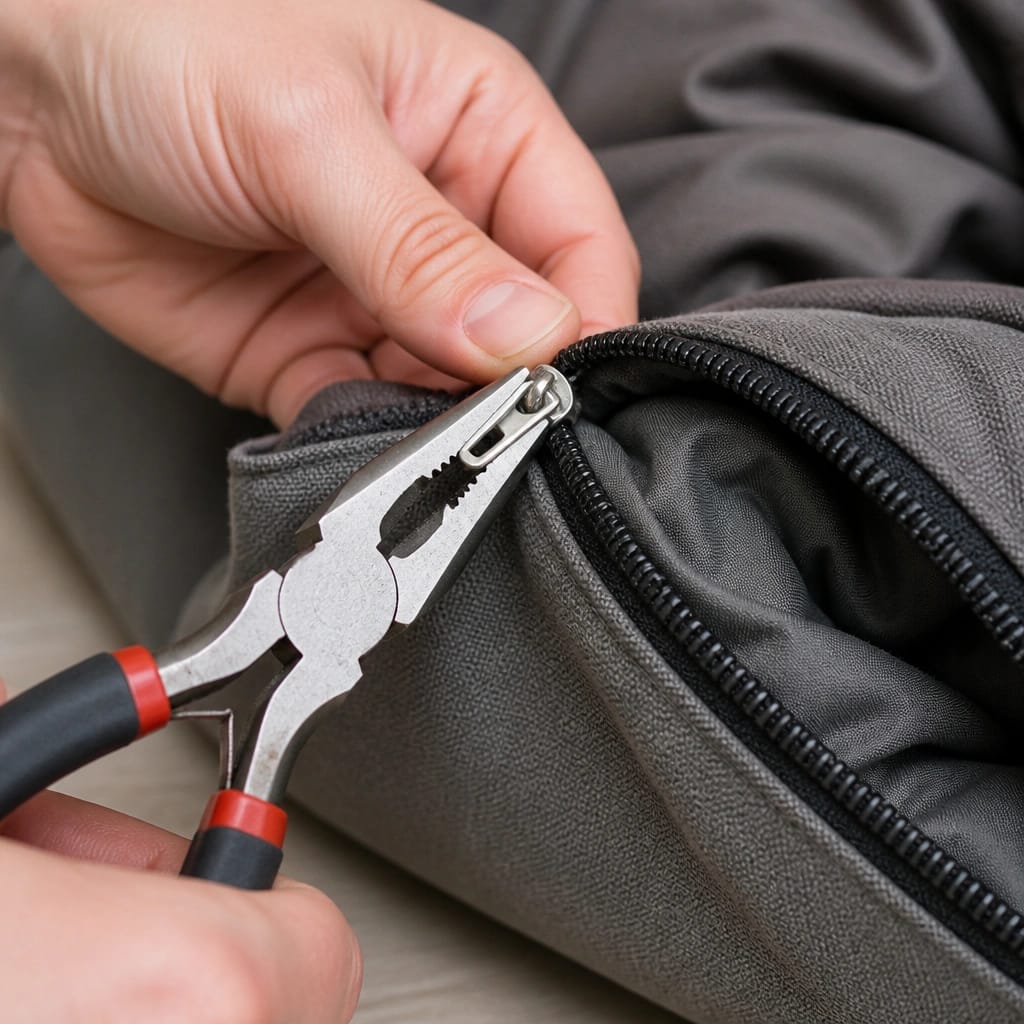
If the slider has come off the track: Look for a small metal or plastic stopper at the end of the zipper. Use pliers to remove it gently. Then rethread the slider onto the zipper tape, making sure both sides of the teeth are aligned.
Slide it back and forth a few times to check that it catches. Reattach the stopper or add a new one from a zipper repair kit. This fix takes about five minutes.
If the zipper teeth are missing or broken: You’ll need to replace the entire zipper. This is more involved but still doable. Use a seam ripper to remove the old zipper from the cover.
Pin the new zipper in place, matching the original length. Sew it using a zipper foot on your sewing machine. Hand stitching works too, but it takes longer and isn’t as strong for heavy covers.
If the zipper is stuck: Check for fabric caught in the teeth. Sometimes a thread or piece of fuzz gets wedged. Use tweezers to pull it out.
If the slider is tight, apply a small amount of wax or bar soap to the teeth to help it glide.
Option C: Restitching a Split Seam
Split seams are common on bolster beds and around the edges where the fabric takes the most stress. If your dog loves to dig or scratch their bed before lying down, this area gets a lot of wear. You can learn more about that behavior in our article on why dogs dig or scratch at their bed.
To fix a split seam, turn the cover inside out. Pin the seam exactly as it was originally, matching the edges. Use a backstitch or a tight zigzag stitch.
A backstitch creates a strong, durable line that won’t pull apart easily. If you’re using a sewing machine, set the stitch length to 2.5 millimeters for a secure hold.
Reinforce the area by sewing a second row of stitches about an eighth of an inch from the first. This double line spreads the tension across a wider area. For covers that get heavy use, consider adding a strip of fabric tape or interfacing along the seam before stitching.
It adds bulk but prevents future splitting.
Option D: Patching a Chewed Corner or Edge
Chewed corners and edges are a different beast. Your dog has likely focused on one spot, creating a frayed or missing section. This needs reinforcement, not just a simple stitch.
Cut a patch from a durable fabric like denim, canvas, or heavy nylon. Make the patch at least two inches larger than the damaged area on all sides. Round the corners of the patch to reduce fraying.
Place the patch on the inside of the cover for a cleaner look, or on the outside for easier access. Sew around the entire perimeter of the patch using a wide zigzag stitch. Then sew an X across the center of the patch to anchor it securely.
If your dog is a determined chewer, you might want to look into chew proof materials for future beds. A reinforced patch can buy you time, but it’s a temporary fix if the chewing habit continues.
Sewing vs. No-Sew: Which Repair Method Should You Use?
The choice comes down to the fabric type and your comfort with a needle. Sewing is stronger and more permanent. It works best on heavy fabrics like canvas, Oxford cloth, and denim.
No-sew methods are faster and require no special skills. They work well on small tears and flat surfaces. But they often fail on curved bolsters or high-traffic areas.
If you want a quick fix while you learn to sew, try our guide on how to make a no sew dog bed as a temporary alternative.
What You’ll Need for Each Type of Repair

For sewing repairs: A heavy-duty needle, strong thread (polyester or nylon), scissors, pins, and either a sewing machine or a thimble for hand stitching.
For no-sew repairs: Iron-on adhesive patches, fabric glue, and scissors. A ruler helps you cut patches to the right size.
For zipper repairs: Zipper pliers, a replacement slider, and a seam ripper. Zipper repair kits cost around five dollars.
Common Mistakes That Ruin Dog Bed Cover Repairs
The biggest mistake is using regular thread instead of heavy-duty thread. It snaps under tension and the repair fails quickly. Another common error is skipping the 24-hour cure time for adhesive patches.
If you wash the cover too soon, the patch peels right off.
If your dog chews excessively, a simple stitch won’t hold. You need a reinforced patch with strong fabric. Ignoring the root cause of the damage means you’ll fix the same spot again next week.
When to Replace the Cover Instead of Repairing It
Some damage is beyond repair. If the fabric is heavily frayed across a large area, patching won’t restore the structure. If the waterproof liner is torn and leaking, replacing the whole cover makes more sense.
If the zipper is completely missing or the track is shattered, a new cover is often cheaper than the labor of replacing it. Also consider the age of the bed. If the foam is worn out, repairing the cover is a waste of effort.
Look into choosing a durable replacement for the long term.
Frequently Asked Questions
Can I use a regular sewing needle for dog bed covers?
Only for lightweight fabrics like fleece. For heavy fabrics, use a denim or upholstery needle. A regular needle can bend or break.
How long does a no-sew patch last?
It depends on the patch quality and the fabric type. With proper application, a no-sew patch can last three to six months. Washing the cover gently extends the life.
What thread is best for dog bed repair?
Polyester-heavy-duty thread is the best choice. It resists UV damage and holds up to repeated washing. Nylon thread is also strong but can degrade in sunlight.
Can I repair a waterproof liner?
Yes, but it needs a special patch designed for waterproof materials. Standard fabric patches won’t seal properly. Look for a repair kit meant for outdoor gear or rainwear.
Which Repair Is Right for Your Dog’s Bed?
Here is a quick decision guide. If the fabric has a clean tear, sew it or use an adhesive patch. If the zipper is broken, try a repair kit or replace the zipper entirely.
If a seam has split, restitch it with a double line for strength. If a corner is chewed, reinforce it with a heavy fabric patch. And if the damage is widespread or the foam is worn out, replace the whole cover.
Match the repair to the damage and your skill level. A simple fix now can keep your dog comfortable for months to come.


