

When Should You Stop Using a DIY Dog Bed?
When should you stop using a DIY dog bed? It’s a question that sneaks up on you. You built that bed with your own hands, maybe saved some money, and your dog loved it.
But now something feels off. Knowing when to retire it is about safety, not sentiment.
Manufacturer specifications for foam inserts indicate a typical lifespan of 6 to 12 months under regular use. After that, the material loses its support and can harbor hidden problems. Let’s walk through the signs that tell you it’s time for a replacement.
Stop using a DIY dog bed when the foam shows permanent compression. Replace it if seams split or fabric tears. If you smell mold or mildew, act immediately.
Watch your dog’s behavior too. Avoiding the bed is a clear signal.

The Problem with DIY Dog Beds: When “Good Enough” Becomes Risky
DIY dog beds come with a trade-off. You control the materials and dimensions, but you also take on the responsibility for safety. Commercial beds follow standards like ASTM F2108, which set guidelines for durability, flammability, and choking hazards.
Your homemade version has no such oversight.
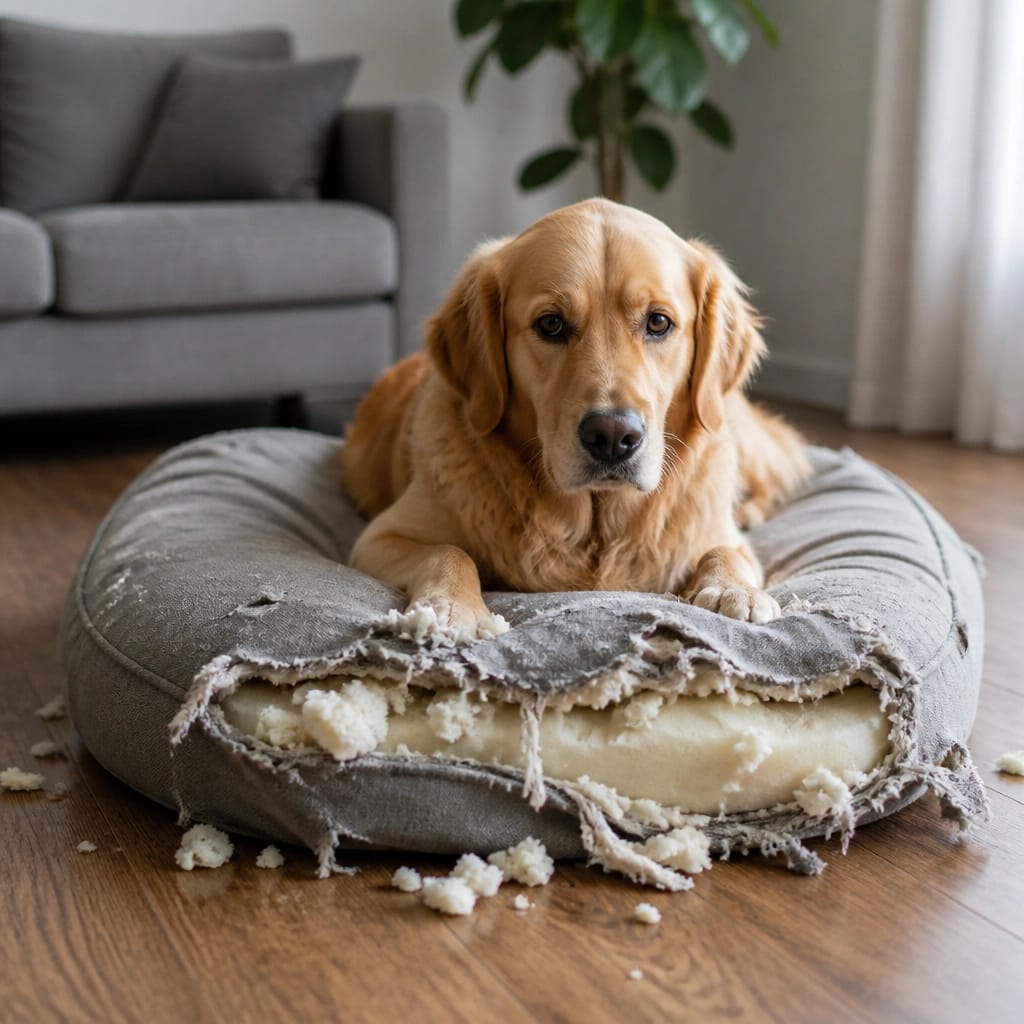
The biggest risk is hidden deterioration. That foam you cut to size might look fine on the outside while breaking down inside. Fabric can wear thin at stress points.
Stuffing can migrate into clumps. Your dog sleeps on that bed every night, so a small problem becomes a big one over time.
In our research, the most common issues with DIY beds are foam compression, seam failure, and moisture buildup. Each of these can cause real discomfort or even health problems for your dog. That’s why knowing the warning signs matters.
How Long Do DIY Dog Beds Actually Last?
There’s no single answer because DIY beds vary wildly. The lifespan depends on three main factors: the materials you used, your dog’s weight and behavior, and how often the bed gets cleaned.
| Material | Typical Lifespan | Key Warning Signs |
|---|---|---|
| Polyurethane foam (1.5 lb density) | 6 to 12 months | Permanent sag, loss of bounce |
| Memory foam (2.5+ lb density) | 12 to 24 months | Indentations that don’t spring back |
| Polyester fiberfill | 3 to 6 months | Clumping, flattening |
| Shredded foam | 6 to 12 months | Thin spots, uneven fill |
| Cedar chips or natural fill | 3 to 6 months | Odor loss, pest attraction |
A good rule of thumb: if you built the bed more than a year ago, it’s time for a thorough inspection. Heavy chewers or diggers can shorten that timeline significantly. A small dog may get 18 months from a sturdy bed, while a 70-pound Labrador might compress the same foam in 6 months.
The Hidden Risks of an Overused DIY Bed
An old DIY bed isn’t just less comfortable. It can become actively harmful. Here are the risks you should know about:
- Loss of joint support. Compressed foam doesn’t cushion pressure points. For older dogs or breeds prone to hip dysplasia, this can worsen joint pain. Our guide on what kind of bed a French Bulldog needs explains why support matters for specific breeds.
- Choking and ingestion hazards. Loose threads, torn fabric, and exposed stuffing can be swallowed. This is especially dangerous for puppies and determined chewers. If your dog has a habit of chewing, check out our chew proof materials guide.
- Mold and bacteria. Moisture from drool, accidents, or humidity can seep into foam and filling. Mold spores can cause respiratory issues, allergies, and skin infections.
- Pest infestations. Old bedding can attract dust mites, fleas, and even bed bugs. Regular washing helps, but once pests take hold inside the foam, the bed needs to go.
- Fire risk. Untreated foam and fabric can be highly flammable. DIY beds often lack the fire retardant treatments found in commercial products. Per ASTM F2108 standards, bedding should meet basic flammability requirements.
7 Signs Your DIY Dog Bed Needs to Go
Most owners wait too long. Don’t let sentimentality put your dog at risk. Here are seven clear signs that it’s time to retire that bed.
The Stuffing Check: Foam and Filling Breakdown
Lift the bed and press down on the foam with your palm. If it leaves a permanent dent that doesn’t spring back within 30 seconds, the foam is shot. Run your hand across the surface and feel for lumps, thin spots, or hard areas.
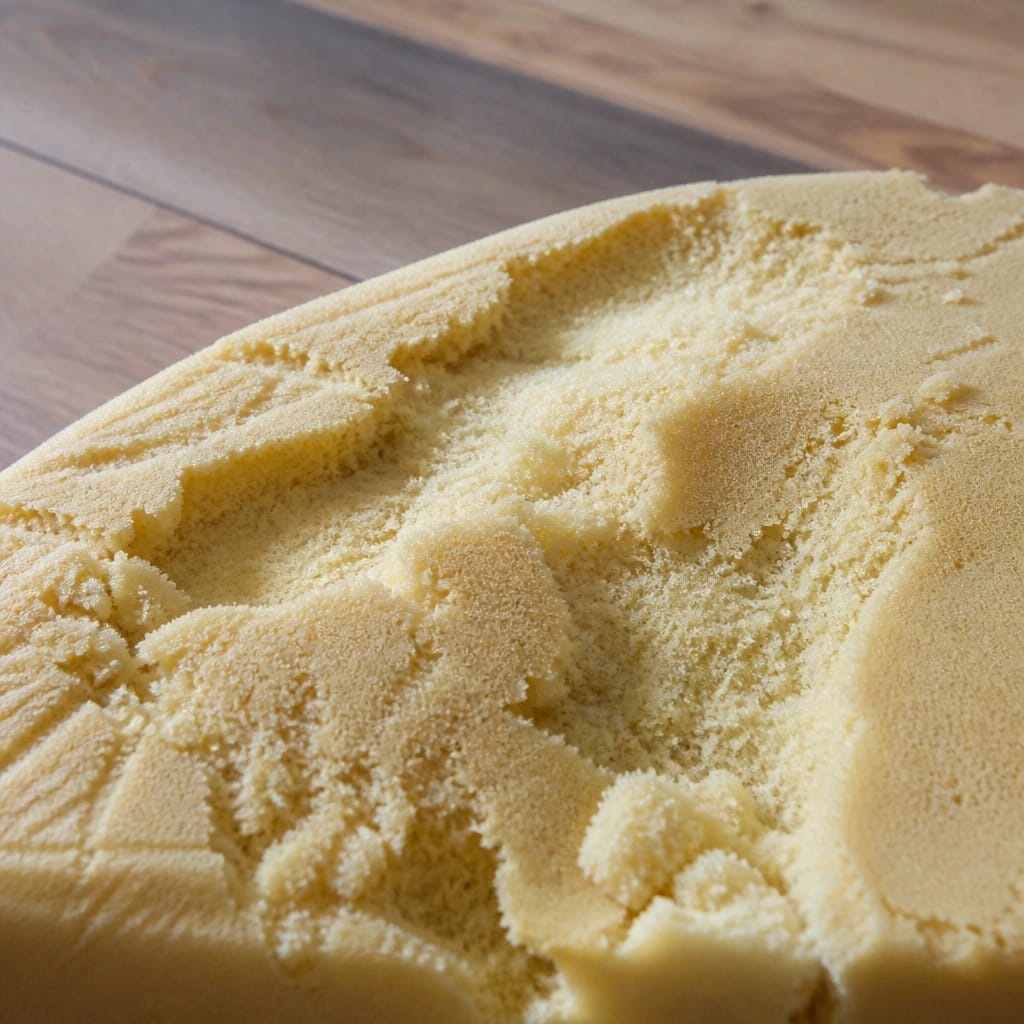
For fiberfill beds, squeeze the bed between your hands. If you can feel the cover fabric touching itself through the filling, the bed is too thin. Your dog’s body weight should be fully supported, not pressing against the floor through a thin layer.
Fabric and Seams: What Wear Looks Like
Check every seam, zipper, and corner. Look for frayed edges, loose threads, or small holes. A seam that’s starting to split will only get worse.
The same goes for zippers that don’t close fully or have broken teeth.
Turn the bed over. The bottom fabric often wears faster than the top, especially on hard floors. If you see thinning fabric or actual holes, your dog can access the filling.
That’s a choking hazard. If your dog digs or scratches at their bed regularly, check this area more often.
Mold, Mildew, and Odors: When Cleaning Won’t Fix It
Smell test first. If the bed has a musty, sour, or ammonia-like odor that doesn’t wash out, mold is likely present. Look for dark spots, discoloration, or a powdery residue on the foam or inside the cover.
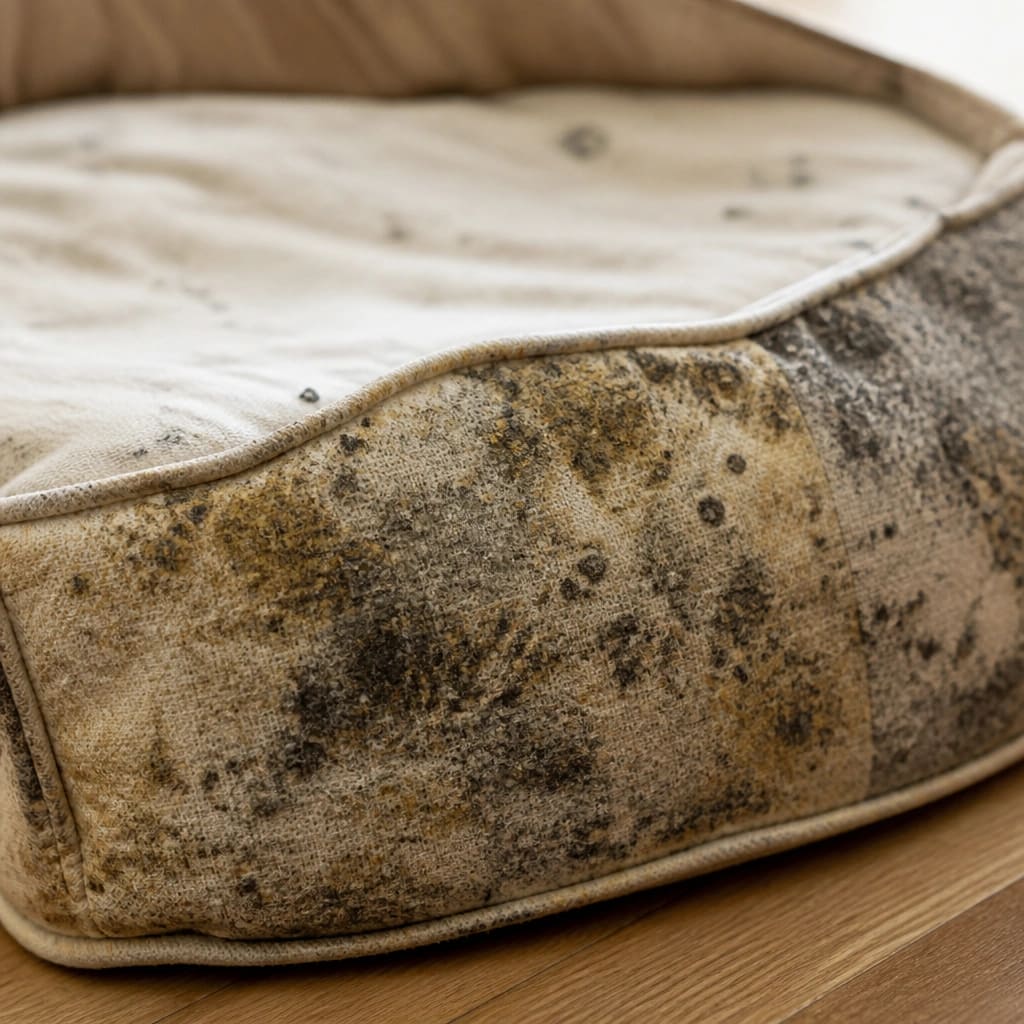
Mold can grow inside foam without visible signs on the cover. If your dog has had accidents on the bed, the urine can soak into the foam and create a breeding ground for bacteria. Our guide on how to get dog urine smell out of a memory foam bed offers cleaning tips, but if the smell lingers, replacement is the only safe option.
Your Dog’s Behavior: Let Them Tell You
Dogs can’t use words, but they show you. Watch for these signs:
- Avoiding the bed entirely
- Sleeping on the floor instead
- Excessive scratching or digging at the bed
- Reluctance to settle down
- Whining or circling more than usual
If your dog suddenly starts sleeping on the floor, it’s often because the bed is uncomfortable. They might be avoiding a surface that hurts their joints or smells bad to them. Pay attention to these changes.
They’re not being picky, they’re trying to tell you something.
When to Repair vs. When to Replace

Not every problem means the whole bed is a loss. Here’s a quick decision guide:
| Condition | Action |
|---|---|
| Loose seam or torn zipper | Repair if the fabric is still strong |
| Worn cover fabric | Replace the cover only |
| Compressed foam | Replace the foam insert |
| Clumped fiberfill | Replace the filling |
| Mold or mildew | Replace the entire bed |
| Pest infestation | Replace the entire bed |
| Structural frame damage (wood, PVC) | Repair or replace the frame |
If the foam is more than 12 months old and showing any compression, replacement is usually the better call. The cost of new foam often rivals the cost of a basic commercial bed. For a small DIY project, you might find it easier to start fresh.
Our no-sew dog bed tutorial shows you how to build a quick replacement. If you’re repurposing materials, double-check that they’re clean and safe. Avoid using old pillows, blankets, or clothing that could contain allergens or dust mites.
Common Mistakes DIY Owners Make
The most common mistake is keeping the bed too long. Owners get attached to their handiwork. They ignore the signs until the bed is clearly unsafe.
Another frequent error is using the wrong foam. Craft store foam or cheap mattress toppers compress fast. They don’t support a dog’s joints the way purpose-made pet foam does.
Spending a few extra dollars on medium-density polyurethane foam (around 1.8 lb density) gives you twice the lifespan.
Skipping a waterproof barrier is another one. Without a liner between the cover and foam, moisture from accidents or drool soaks straight into the core. That leads to mold and odor.
A simple waterproof mattress protector or a layer of ripstop nylon can double the bed’s useful life.
When to Call a Vet
If your dog develops persistent coughing, sneezing, or skin irritation, the bed could be the cause. Mold spores and dust mites are common triggers. A vet can help rule out other causes.
Also call your vet if your dog ingests stuffing, fabric, or foam. Symptoms like vomiting, lethargy, or constipation need prompt attention. Small pieces may pass, but larger chunks can cause intestinal blockages.
It’s always better to check than to wait.
FAQ
How often should I replace a DIY dog bed?
Every 6 to 12 months for most designs. Replace foam inserts when they show permanent compression. Replace fiberfill every 3 to 6 months.
Can I wash the foam from a DIY dog bed?
No. Most foam should never go in a washing machine. Spot clean it with mild soap and water.
Let it air dry completely before putting the cover back on.
What’s the safest filling for a DIY dog bed?
Medium-density polyurethane foam (1.5 to 1.8 lb density) is the safest and most durable option. Avoid shredded foam or fiberfill for heavy chewers, as they create a choking hazard.
Is it cheaper to build or buy a dog bed?
It depends on materials. A DIY bed can save money if you use reclaimed foam and fabric. But once you factor in new foam, waterproof liner, and durable fabric, a basic commercial bed often costs the same.
What to Do With the Old Bed
Don’t just toss it in the trash if parts are still usable. Remove the foam and check if it’s salvageable for another project. Clean foam can be repurposed as a garage cushion or packing material.
If the foam is moldy or infested, bag it securely and dispose of it. Fabric covers can go in the textile recycling bin if your area accepts them. Check with your local waste management service for drop-off locations.
For the frame, wood or PVC can be disassembled and recycled. Hardware like screws and zippers can be saved for your next build. Starting fresh with clean materials is always safer than reusing questionable parts.


